


Hosting your images on Google Drive will let you enjoy the freedom of not paying for the image hosting services (at least until the 15GB usage limit.) So, Google Drive is a good place to store your important images, website images, or whichever image that you want to host for free. If you are running out of storage and want to expand the storage space, there are premium Google Drive packages available which you even can’t outrun. So, Google Drive is a perfect solution to host images.
Why Host Images on Google Drive?
The primary reason is that you can use Google Drive as a free image hosting website. You can host thousands of images on your Google Drive and still there will be enough space for other Google services that you use. I’ve been a user of the Google Drive for several years now, and I frequently upload all my important images to the Google cloud. Still, there is enough space for me to store all my important documents and utilize the drive for all other Google services.
Apart from that, the Google Drive is extremely simple to use, and the performance is extremely fast. When compared to other such cloud services, this Google service provides the best speed. The security is also uncompromised which will ensure that your photos or images will stay safe all the time. There are plenty more reasons to choose Google Drive to host images, but these are the most important ones.
Host Images on Google Drive
Now, let’s look at the steps for hosting your images on Google Drive. But, here we have different scenarios. If you may be looking for a place to host images for your HTML email attachment, or just to host the images of your websites. In any such situations, the steps are the same. All you have to do is uploading your images to the Drive and following some simple steps in order to access and use the hosted images. So, here is how to host images on Google Drive.
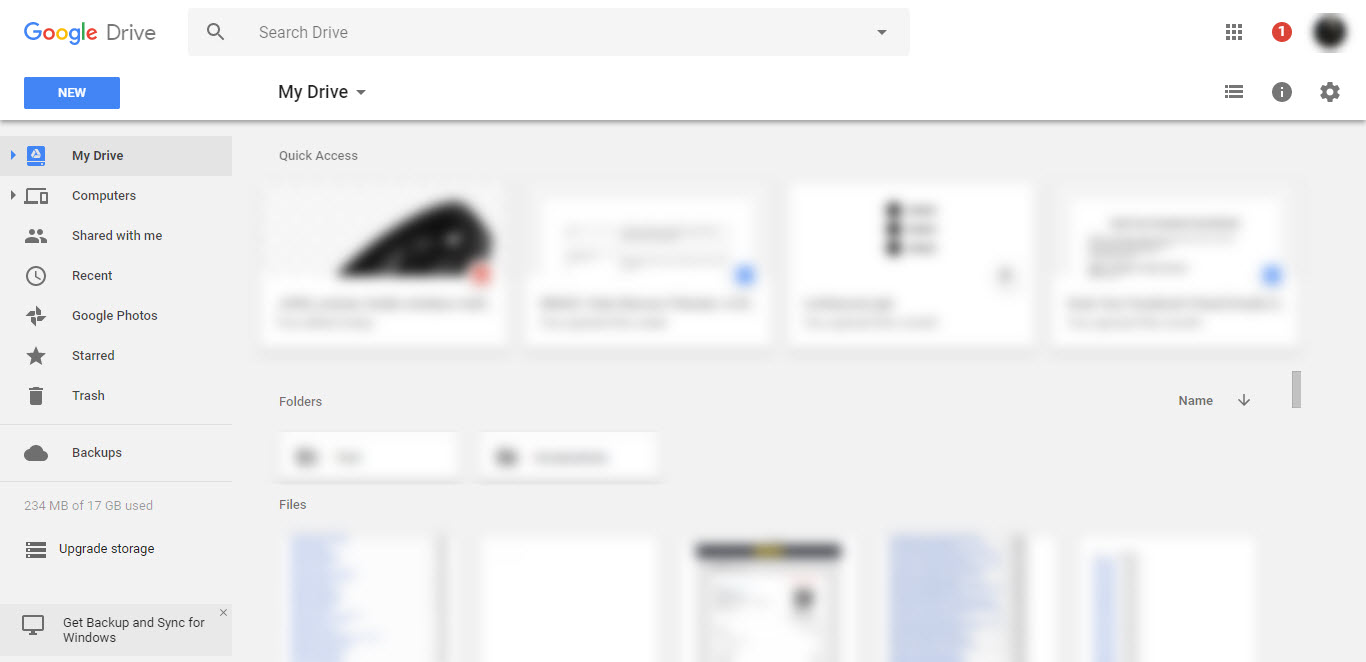
- Open Google Drive.
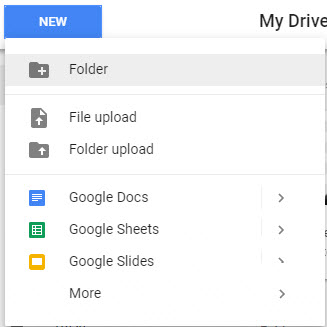
- Create a new folder and give it an appropriate name.
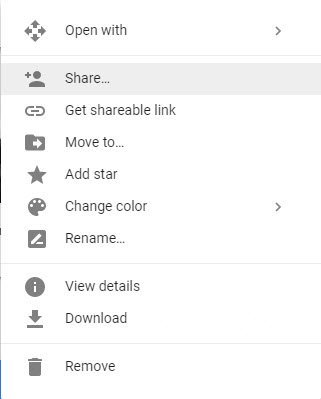
- Right-click on the folder and choose Share.
- In the new window that opens, click on Advanced.
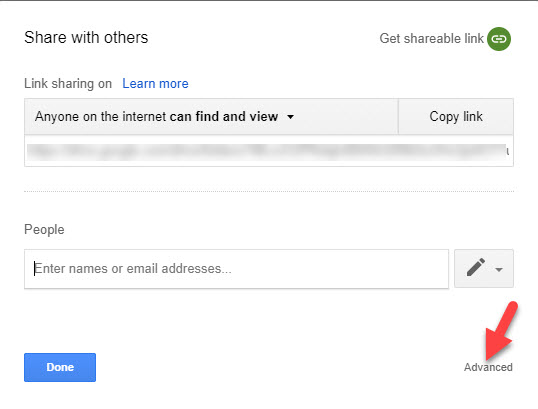
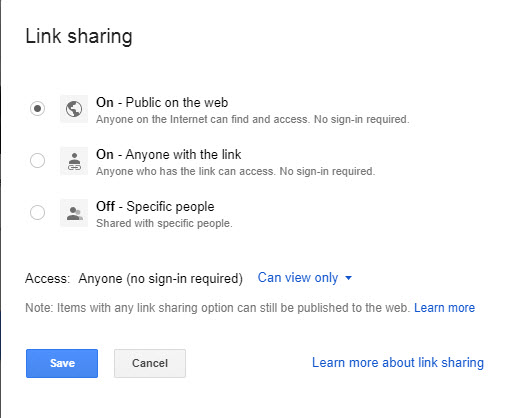
- Now, change the Private under the ‘Who has access’ section to Public.
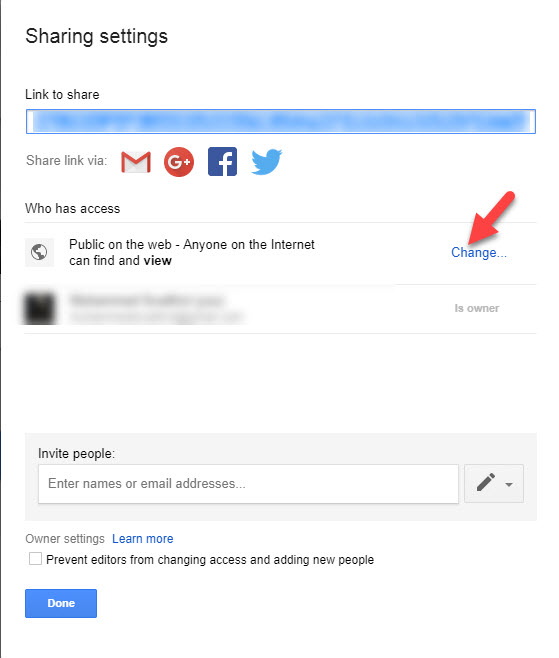
- Click Done.
- Upload all your required images to that folder.
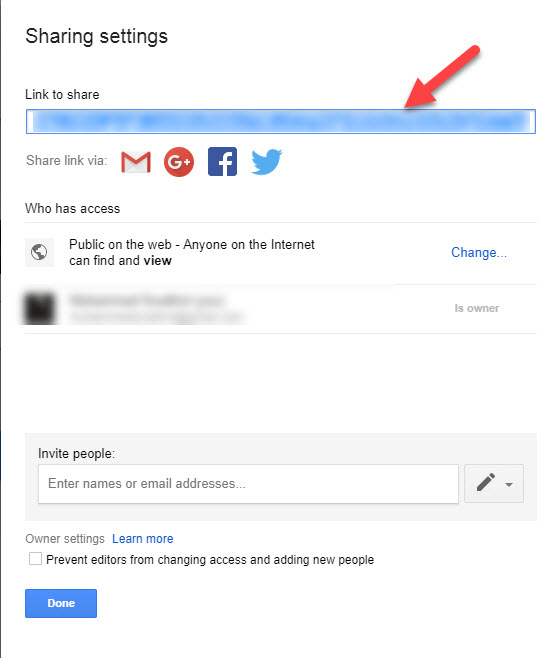
- Now, Right-click on the image file that you want to use and choose Share.
- Click on Advanced and copy the URL under ‘Link to Share’ section. Paste it somewhere like Notepad to use later.
 By default, Google Drive will not provide the direct link to access the file. So, we have to generate one.
 - Go to any Direct Link Generator like GDurl, Hugestreet, Boogle (or any other such website that you know.)

- Generate the direct link.
- Copy the generated link and paste it into Notepad or somewhere else.
- Now, use that generated URL as the image source on your website or anywhere else.


The images will be now hosted and served from the Google Drive.
Things to Remember while using Google Drive to Host Images
Google Drive is one of the best places to host images for your website or to use in any other places like social media networks. But there are several things that you want to be aware of. As it is important to know them, we listed them below. Have a look.
You should generate a direct access link to your Images
Once you request Google Drive to provide the URL to the image, what you will get is something like this,
Do not shorten the URLs
Feels like the generated direct link is too long? And want to shorten the link using another link shortener? Never do that if you want the content to be live on the site forever. Such link shortening services may work well for a few months, and once there is a large scale update or something, that may create conflicts between the link shortener and the direct link generated by other websites. Because, there will be a two-way link generation, one for the direct link generator and another one for the link shortening service. But yes, there are some quality and paid link shortening services that can keep your links live all the time.
You may lose all the image links if you didn’t choose the link conversion service properly
Like I already mentioned in the above sections, there are chances to lose the links to all your images if you didn’t choose your direct link generation service properly. Some of those Google Drive link conversion services are not that trusted that they may go down at any time and they may update the URLs whenever you wish. The result will be a lot of broken images wherever you used the direct link. So, choose such services wisely.