


In this day and age, everyone must be using a Windows or macOS powered laptop or desktop. If you use either of these, you are bound to be using hard drives.
In some cases, SSDs are used in Laptops or PCs but generally, people use hard drives. This is because they are much cheaper than SSDs and have a large capacity for data storage.
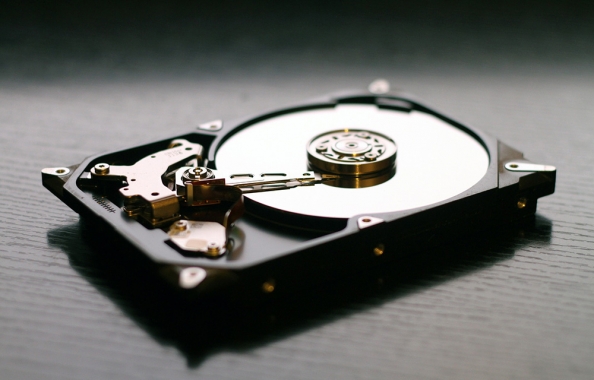
Talking about hard drives, there should be loads of data on your hard drive. This data can be on your PC’s hard drive or your laptop’s. But the main point is that there is important data on the drive. Let’s assume that you want to erase the data from your hard drive for some reason.
This reason could be for selling the PC, donating or giving it away. So you obviously don’t want to keep your data on the drive and want to erase it. Now, how would you be able to erase data from your hard drive?
For this reason, we have compiled this tutorial to let you know how to completely wipe a hard drive. Therefore, if you are looking to wipe your hard drive for some reason then you should follow this tutorial properly. It will ensure that no data is left on your hard drive and you are safe to sell, donate or give away your hard drive.
Wiping a hard drive is also helpful when your PC is infected by a virus. This wipe can also be to remove redundant data on the disk to free up space.
On Windows, there are two options to wipe a hard drive. First one is to use Windows 10’s native tools to wipe the hard drive. The alternative to this to use third party tools for wiping such as DBAN. Fret not as we will cover both those options in this tutorial down below
Wiping Hard Drive in Windows 10 (Native tools)
If you are a Windows user, you must have already upgraded to Windows 10. This latest version of Windows is also the final one. There are various tools available from third-party manufacturers to wipe a hard drive.
But why would you download an external application if the feature is present by default? Yes, you can easily wipe your hard drive in Windows 10 by using default tools.
The first thing you need to do is make sure the name of the hard drive that you are wiping. For this, you need to go to your Windows Explorer and see the name of the hard drive. However, it is obvious that you will not be able to delete your C:/ drive from inside Windows 10. Because your operating system is installed on C:/ drive, usually.
Once that is complete, right-click on Start and Open Windows Powershell also known as Command Prompt.
Type the following command in Windows Powershell:
Format volume /P:passesIn the above command, you need to replace “volume” with your desired hard drive for wiping. Also, the passes would be replaced by the number of times, you need to wipe your hard drive. Remember that the higher the pass number, the better your hard drive will be wiped.
For example, if you are wiping your D: drive in 5 passes then your command will look as below:
Format D: /P:5
That’s it. Your hard drive will be wiped completely and you can use it after completion
If you are not on Windows 10, what should you do?
Well, if you are on Windows 7, 8 or 8.1 then also the same command as above will work. The above command works on Windows Vista and above versions so you are lucky.
Wiping a Hard Drive in Windows 10(DBAN)
For some reason, if you are not happy about Windows 10’s native wipe tool. You can use a third-party tool for wiping your hard drive. The best tool for this purpose is DBAN. DBAN, Darik’s Boot and Nuke is a tool made for destroying data in bulk.
Well, DBAN has one massive advantage over using Windows’s native tools. DBAN can wipe your entire C: drive as well. Yes, your C: drive can also be wiped even if your Windows 10 is installed on that drive.
Before using DBAN for wiping your hard drive, make sure to take a back up of your data. This is in case you have some valuable data which needs to be kept safe. DBAN already warns users that your data, once wiped, will be irretrievable.
DBAN is available in ISO format. So you need to write this file to a disk before you can use it.
For this, you need to download DBAN’s ISO file from here. After this, insert a CD/DVD into your PC. Then, right-click on the downloaded DBAN ISO file and select “Burn disc image”. Select the CD which you have inserted and wait for the burning process to complete.
Now, make sure to once again identify which hard drive needs to be wiped using DBAN.
Once that is done, boot into DBAN. Remember that you cannot use DBAN inside Windows. You need to boot into DBAN for wiping the drive. So you need to restart your PC and select the option to boot from CD/DVD. This is where you have burned the DBAN iso image.
Here are the wipe options available inside DBAN:
- F2 to learn about DBAN
- F3 for a list of commands
- F4 for troubleshooting
- Tap Enter to use DBAN in interactive mode
- Enter the phrase
autonuketo let DBAN automatically wipe every drive on your computer
Rather, press Enter and follow the guide to wipe your hard drive
With the help of arrow keys, select the device which matches the name of your hard drive. Press Space and press F10. This will start the process of wiping your hard drive.
Done. You just wiped your hard drive using DBAN.
Conclusion
As we mentioned earlier, you may want to wipe your hard drive for various reasons out of the above. For this, you can either use the Windows’ native method or wipe your hard drive using DBAN. It is entirely up to your will. But do make sure to verify the name of the hard drive before you start wiping the hard drive. Otherwise, your data will be lost and you will no longer be able to recover it.