


How to use NAS as a backup solution: Network-attached storage (NAS) is computer data storage connected to a computer network providing data access to a group of clients. It is a convenient method of sharing files among multiple computers.
It is one of the fastest-growing categories of data storage. Many of computer users don’t know about NAS. Most people are still using external hard drives for backup. NAS provides a central hard drive on which you can store, share and backup all files from multiple computers in the house. NAS uses its own operating system and processor for storing content. Using NAS we can create a central library of music, photos, videos hub in the home.
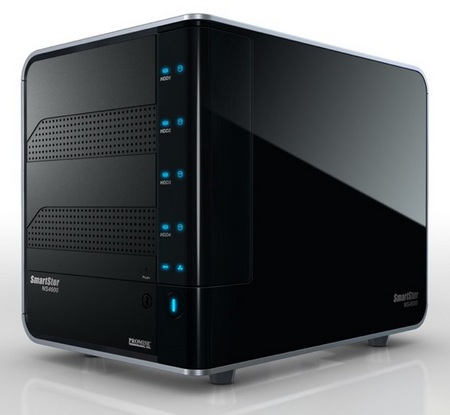
You can easily find pre-made NAS units on eBay and amazon for one or two hundred dollars, and they usually come with their own software. or you can simply build your own NAS using working old system components. You can easily install and configure NAS. NAS is an open source OS available easily to download. It supports sharing across Windows, Apple, and UNIX-like systems. NAS supports many popular networking protocols, and is easy to set up in most home and enterprise environments.
Free NAS Installation
To install FreeNAS, you’ll need the FreeNAS live CD. Download the ISO image that matches the architecture of the system you will install onto (32- or 64-bit) and burn it to a CDROM. Insert the CDROM into the system and boot from it. Choose Install/Upgrade to hard drive/flash device in the boot menu.
After successful installation, remove CD from drive and head into configuration menu.Pick up Assign Interfaces, next Pick your ethernet port from the list (there’s probably only one option), then click “none, Finish and exit” on the next page. Next, select 2, “Set LAN IP Address“. Using DHCP should be fine, if you’re using static IPs, select and enter IP.
Configuring NAS
To access the web interface, open your web browser and type in the IP address you copied down at the end of the installation process. Type in admin for the username and FreeNAS for the password to gain access. To add Hard disks choose Disks menu at the top of the page and click on Management. Click on the Plus sign to add a new one. Next page, choose your disk from the “Disk” drop-down menu and hit Add.
Next, drive a ‘mount point’ in FreeNAS. Select Disks > Mount Point from the top menu, and click the plus sign. Pick your disk from the drop-down menu. Give the mount point a name. And turn off “foreground/background file system consistency check during boot process” Click the Add button and once again, hit Apply Settings on the next page.
Click on the Shares tab at the top of the settings page, and click the plus sign. Give it a desired name, and hit the “…” button to tell it which of your FreeNAS drives that you want to share.
In Windows Explorer, just type NAS IP address into the navigation bar. NAS files open up and you can browse it, create folders, add files to it. Now you can easily backup your entire system in NAS.
Just open up the start menu and type “backup“, and click on “Backup & Restore“, click “Set Up Backup” and then click the “Save on a Network” button in the bottom left corner of the window. Next type in the path to your NAS shared drive, or click Browse to find it. Then, click Next, and choose your backup default settings. Ethernet connectivity is good option to connect. Wifi connectivity is slow and will fail sometimes in between the process.