

SD cards are there for a while and the people keeping it for many purposes including data carrying or essential smartphone operations. Having one on the smartphone is always a blessing especially for movie nerds and music lovers. Anyhow, once you want to format SD card in your android smartphone, it is not that rocket science to do so. Here in this article, we are going to show you some effective methods to completely format SD card in android smartphones.
Note: Formatting your SD card will erase all the data in it and it may not be recoverable using a recovery software.
Format SD Card using Android system (Traditional method)
You can easily wipe out all the data in your SD card by following the simple steps given below. In this method, we are going to use the traditional android OS function for formatting memory cards. Have a look.
- Go to the Setting screen of your smartphone.
- Scroll down to the Storage section. (Some smartphones listed this under the Additional Settings.)
- Tap on Unmount SD card option and validate the action.

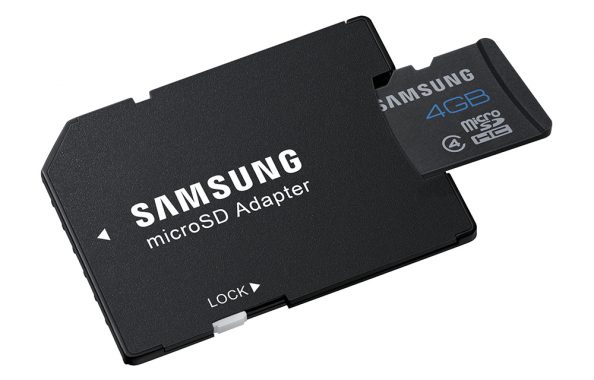
Erase SD card © zerodollartips - Then, tap on Format SD or Erase SD card and follow the on-screen instructions to complete the process.

Format SD Card using a PC
If you own a PC, it is very easy to format your memory card. For this, you must have a Card reader or any devices which can mount your SD card to the computer. If you already own a laptop or computer which has a SD card slot, you are glad to have it.
- Insert the memory card in Card reader and connect with the computer.
- Open the Computer or My Computer window.
- Find your SD card in the given drives list. (You might find the name of the memory card there. If you can’t identify the correct one, just remove the card reader from computer, and connect it again. Now, you will see which drive appears new.)
- Right-click on the SD card icon and choose Format option in the context menu.
- Now, a window asking the details like file system, allocation unit, volume label will pop up.
- Fill the details correctly. (It is recommended to leave all the settings as default if you are not aware of what you are going to do.) If your SD is above 4GB in size, we recommend choosing NTFS as the file system. Otherwise go for FAT32. You can alternatively look into this article to know more about file system limits.

Format SD card © gopro - Now, click on the Start button to start formatting. Confirm the action if prompted.
- After successfully completing the format, the system will notify you with a success message. Click OK on the message box.
- Now, you can eject the SD card and can start using it again.

Format SD Card on Mac OS X
If you own a mac instead of a windows PC, you can follow the below steps to complete the format process.
- Insert your SD card to a Card reader and connect it with your Mac.
- Open Disk Utility in the utility folder of your Mac.
- Now, select the SD card from the list of drives given in the left panel of the window.
- Navigate to the Erase tab on the screen and select the desired volume format and enter a name for the SD card.
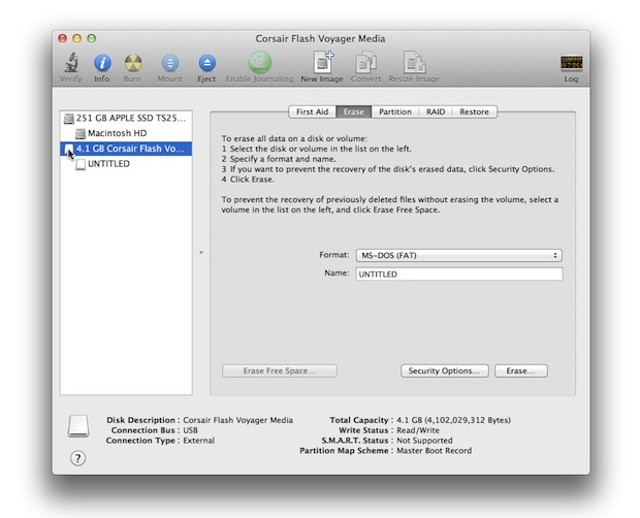
Diskutility in mac © cultofmac - Click Erase and the process will start formatting your SD card after the confirmation.

These are the three different methods which will help you to format SD Card in your smartphone. As the file systems can be tweaked anytime unless any errors in the SD, you could use it both for the smartphones or for the PC. If you’ve faced any problems during the process, feel free to contact us for any formatting related queries or leave a comment on the following comment area. We will get back to you as soon as possible.