


Electronic signature or e-signature is very useful in digitalizing your handwritten signatures. When the typical signatures can be copied any time by an expert, the digital signatures are more dominant in this era. It stamps a permanent ownership or valuation sign on your documents which is nearly impossible to alter. The Adobe Acrobat is a widely used software which can also put your digital signs on the documents. So, in this guide, we will guide you through the steps to let you know how to create e-signatures in Adobe Acrobat.
- Run the Adobe Acrobat software.
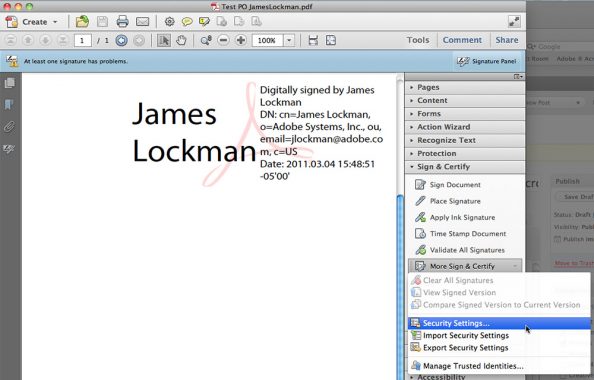
- Click “Advanced” in the menu bar and select “Security Settings.”
- Now click on “Digital IDs” in the left panel of the window.
- Click “Add ID” option.
- Now, select “A new digital ID I want to create now” option.
- Click “Next.”
- Choose the location to store the digital ID in the current window.
- Click “Next.”
- Select the “New PKCS#12 digital ID file” option. This helps to store your encryption or e-sign information in a file.
- In this screen, type the information you want to be stored in your digital ID, like name and email addresses (The entered name will display in the signature field of the signed documents.)
- You can select the “Enable Unicode Support” option to specify Unicode values for the information you provided recently.
- Now, it is the time to choose a value from the Key Algorithm menu on the screen. Select the appropriate one, but we recommend using the 2048-bit RSA option for more security.
- Choose the “Digital Signatures” option from the “Use digital ID for” menu.
- Click “Finish.”
That’s all that you have to do create e-signatures in Adobe Acrobat.
Please do share your views and feedback in the comment box below. Also, please don’t forget to share the article on your social media.