


God Mode in Windows, or also called the Windows Master Control Panel shortcut is one of the hidden gems inside the OS. Enabling the God Mode in Windows will provide you the access to almost all administrative tasks which couldn’t be done by normal permissions. It sorts out all the management features of the OS in a single place making you the ruler of your own computer. When God Mode is enabled, you don’t have to go to control panel or search in the menu in order to reach a specific service or location on your computer.
So, today, we are going to provide the method to activate God Mode in Windows in order to help you out. The process is successfully tested on Windows 8 32-bit and 64-bit versions, Windows 7, Windows Server 2008 32-bit versions, and Windows Vista 32-bit version. The 64-bit version of the Vista has some problems in accepting the God Mode activation and causing stuck screens. So, only do this if you have any of the above compatible versions of the OS.
How to Enable God Mode in Windows
- First of all, make your computer windows and programs closed and make sure that nothing will conflict the process.
- Then, create a new folder on the desktop by right-clicking on an empty portion of your desktop and selecting New > Folder.

- Now, rename the folder as follows: GodMode.{ED7BA470-8E54-465E-825C-99712043E01C}
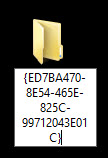
- After renaming the folder, you will see that the icon of the folder automatically changed to the Control panel icon.

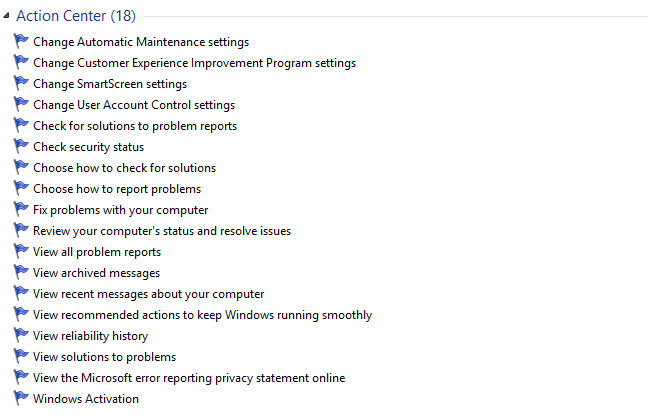
- Now, you have successfully enabled the God Mode in Windows and opening that folder will bring the list of almost all available functions in your PC.


That’s it. Enjoy the God Mode.
Please do share your views and feedback in the comment box below. Also, please don’t forget to share the article on your social media.