

Let’s face it. We have always argued upon which mobile operating system dominates, and it turned out as – Android. It may not be the best one expects but the variety of smartphones powered by Android OS simply dominates over the other factors.
While we know that there is a wide range of devices but we do not know how reliable each of them is. Nowadays, people tend to store almost everything necessary on their smartphones to access their documents, files or pictures on-the-go.
What if you accidentally delete all of your necessary files? What if your device becomes inaccessible for a reason and when you think it has been resolved, you no longer find your data on it. I do not believe anyone would ever want to face such situations ever. However, it is possible, and you have to get prepared to tackle such intense situations.
So, in this article, you will get to know about how to backup an Android device. We will mention each and every method available. Still, if you get to know something not referred to in this article, you may let us know in the comments.
First Thing: What Do You Want To Backup?
Yes, it is the most crucial part of focus here. You need to know what you want to backup first. Of course, backing up everything seems to be the best way, but it is not a feasible solution for all (especially with loads of data on board!).
Typically, users want to backup their app’s data or multimedia files or documents. Accordingly, we have listed out the best methods to backup and Android device.
Method 1: Backup Your Photos Using Google Photos
Above all, pictures tend to be the most precious thing you want to backup first. Moreover, if you have a great smartphone camera, it becomes a necessity.
However, backing up your photos is not as difficult as finding the perfect camera smartphone. It is very easy!
Most of the Android device’s have Google Photos pre-installed. In either case, you can download the app using the Play Store or APKMirror.com. Make sure you do not download the APK file from a different source not mentioned here (it might put your device’s data at risk!).
Now, follow the steps mentioned below to backup your photos.


Steps To Backup Your Photos To Google: How To Backup An Android Device
- Launch the Google Photos app and head to its settings.
- Now, you will notice a “Backup & Sync” option. You need to enable it.
- After you have enabled it, your photos would immediately start getting uploaded to Google’s servers. If you are on a unmetered Internet connection with perfect uploading speed rate, you can leave it as it is. However, do note that if you set the upload size to “Original,” you will not be able to upload an unlimited number of photos; instead, your total drive storage will be taken into account.
If you have a slower Internet connection or on a metered connection, you should prefer tapping the “Upload Size” option and set it to “High Quality.” Also, you get the privilege to upload an unlimited number of photos using this mode.
Method 2: Backup Your App’s Data, Passwords & Settings Using Default Backup Option
If you have noticed, you already know this. No matter what smartphone you own, it offers a backup & reset option.
To find it, you need to head to the Settings and then scroll down to find “Backup & Reset” option.
Now, you simply need to enable two things. First one, enable backing up of your data and the second thing you need to is to allow the automatic restore option. You can refer the images above for clearer understanding.
Method 3: Backup Your Android Device Using Applications Available At Play Store
For rooted Android users: Titanium Backup PRO

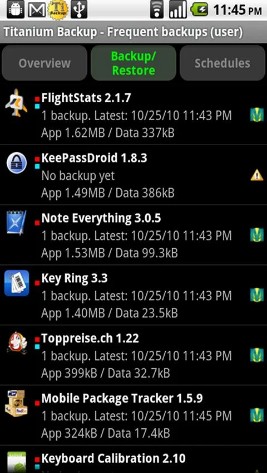
If you have a rooted device or you flash a variety of ROMs regularly on your device, Titanium Backup Pro is your one-stop solution for backup.
We would not recommend you rooting your device if you have not, but it surely entitles you to exclusive privileges that non-rooted Android devices do not have. Titanium Backup is the ultimate backup app that is available on the Play Store. It offers a free version and a paid one as well. Of course, the paid version of the application would let you create a complete backup of your device which can be saved onto your SD Card or sent to a cloud storage service like Google Drive.
In addition, Titanium Backup Pro will let you transfer system data across different ROMs. Other than helping you backup your device, it lets you do a variety of powerful tasks that gives you the complete control of your device.
For non-rooted Android Devices: Super Backup & My Backup PRO
Fret not, if you do not know how to root your device or do not want to risk your device, there are easier yet effective solutions for you. We already know that there are tons of applications available at the Play Store. Among all, Super Backup & My Backup PRO are two of the best apps that we could find to help you backup an Android device.
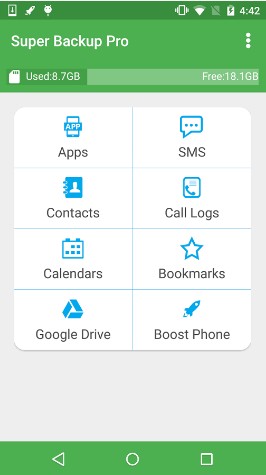

Super Backup does not require a rooted device (to perform basic backup tasks), nor it requires you to purchase a license. However, you may opt in for the in-app purchases to get rid of the advertisement which makes it a free application that lets you backup an Android device.
Unfortunately, to backup your App’s data, you would need to have root access no matter what. Still, with the help of Super Backup, you can easily backup the bookmarks (Android 4.4 or below), call logs, messages, apps, and calendar. Also, you can send the backup to a remote destination (Google Drive or similar).
To ensure that you always have the latest backup, you can schedule automatic backups to let the app do its job. However, when using a task killer or a RAM booster app, make sure to add Super Backup to its Whitelist.
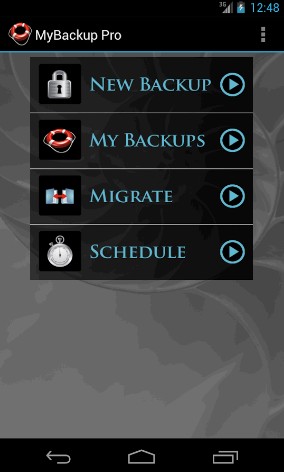

My Backup PRO will cost you 6.99 USD. Although, it is worth the amount you are going to spend.
This app lets you easily migrate your data between two devices and even gives you the ability to send the backup to your computer over the Internet. With My Backup PRO, you can schedule the backup and also send it to your desired cloud storage service.
My Backup PRO does not require root access for any of the tasks it performs. That is the best part!
Method 4: Backup Your Contacts
There are a variety of ways by which you can backup your contacts and quickly restore them when required. You can either use an Antivirus app to backup your contacts across multiple devices, or you can simply enable synchronization of contacts on your Gmail account signed into the device.
Steps To Use An Antivirus App To Backup Your Contacts
An Antivirus app like Norton Mobile Security lets you backup your contacts to the cloud. Furthermore, you can easily restore them when moving to a new device.

In this example, we take the help of Norton Mobile Security to show how its done.
- Install and launch the Norton Mobile Security app.
- Do note that it is a premium app. So, you will have to purchase a license if you want to continue using the app after 30 days of trial.
- From the menu, navigate your way to the device screen. Now, you will find an option – “Contact Backup.” Tap on it to get started. It is that simple!
Steps To Sync Contacts To Google Account
This method is considered to be superior to others where we do not need to download additional applications but utilize Google’s server to sync our contacts.
Here’s how it is done:
- Launch the Settings app on your Android device.
- Scroll down to find “Accounts.”
- Now, click on “Google.”
- You should now observe your Google accounts signed into the device.
- Select the account you want your contacts to sync with.
- You will now notice a lot of options to sync with your account. If you want something else not to be synced or synced, you can do that. And, if you simply want to sync your contacts, turn on the sync option for “Contacts.”
Method 5: Backup Everything Using Your Desktop
You can also backup an Android device using your desktop. There are a couple of working solutions to help you along. Instead of backing up of your data to your SD card, it is safer to back it up to your computer. We would also recommend you to organize your files in the correct way to ensure quick restoration, no matter from where you restore.
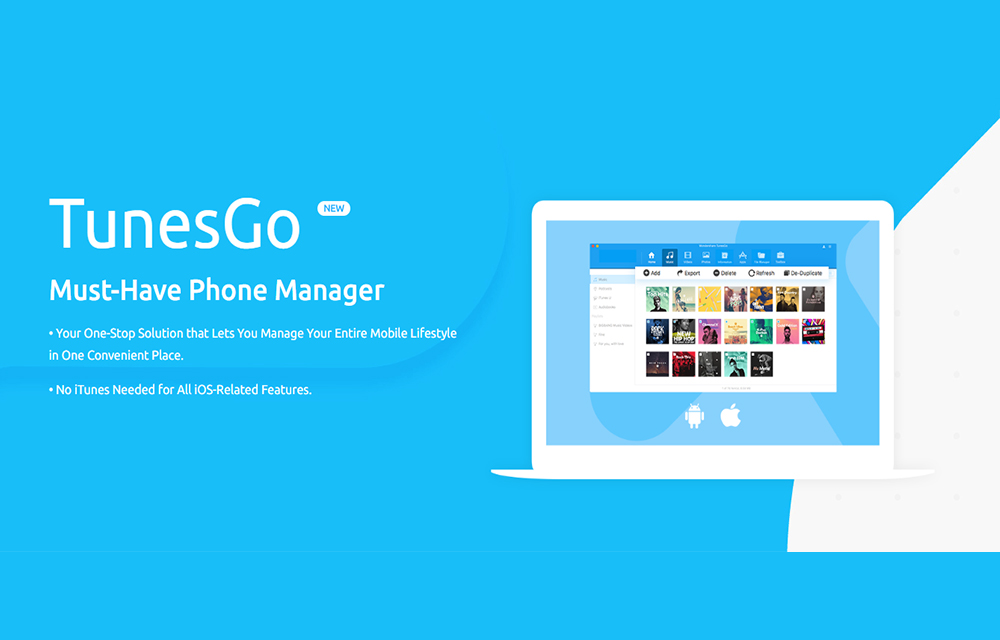
Steps To Backup An Android Device Using TunesGo
- Download & Install Wondershare TunesGo on your computer.
- Connect your device to the computer by enabling USB debugging option from the developer’s menu. If you do not find the developer’s option in the Settings, only head back to the software info and tap on the Build number for seven times in a row to unlock it.
- After you have successfully connected your device to the computer. If you want to backup all of your photos to your PC, head over to the home menu of the application and then select “Backup Photos to PC” to start backing up your photos.
- On the off chance, if you want to backup all of your music. Simply head on to the “Music” section and then navigate your way through Export->Export to PC.
- If you want to backup all of your videos, you can similarly do that by heading on to the “Videos” tab.
- Similarly, you can head on to “Information” tab or Applications tab to backup the required data to your PC.
Steps To Backup An Android Device Using Helium
Like Wondershare’s TunesGo, Helium is a widely popular app used to backup or export data from an Android device to your PC. It works much like the same way, but for a better understanding, you can refer to the steps mentioned below.
Helium is available for free and is developed by ClockworkMod. It also offers a premium version where you get the ability to schedule automatic backups, sync data between two Android devices and also send your backup files to the cloud.
Although it works without root, if you have a rooted device that is a plus.
- Download Helium for Desktop.
- Similar to the previous method, you need to connect your smartphone to the computer by making sure that you have USB Debugging enabled.
- After successful connection, you will observe a tick mark notifying you of the connection at the desktop side.
- Helium app on your Android device is now enabled. You can unplug the cable and perform the complete backup or app data only (where you have to download the applications from the Play Store) by selecting the desired applications.
- After you are done creating the backup, you can simply copy-paste the “Carbon” folder on your device’s SD Card to your computer which can be later restored using the Helium app whenever required.
Wrapping Up
Finally, you have got to know a variety of methods to backup an Android device. You might observe a ton more ways to backup specific data, call logs, messages or media files using a different application but the methods mentioned would always remain as the base for it.
Did we miss any of your favorite backup technique? Is there an interesting way to backup an Android device that you think we should know?
Let us know your thoughts in the comments below.