

Changing icons can greatly impact the look and feel of your Windows PC. So, everyone trying numerous customization and tweaks on their OS. If you are one of them who gives importance to the design of your windows, you might consider tweaking icons of your OS. Not only the desktop icons can be changed, but each of the folder, drive, and file icons can be altered as per your requirements. In this article, we are going to provide the complete steps to change icons in Windows without having to sweat much. Have a look.
How Change Desktop Icons in Windows
Desktop icons plays a crucial role in providing ease in accessing the most important sections like Computer, Recycle Bin, Network, and your User folder, etc. If you want to change the desktop icons, follow these simple steps. This will help you to apply custom desktop icons
Note: If you want, have a look at these free desktop icons to select as the new one.
- Go to the Desktop of your PC.
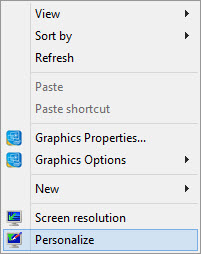
- Right-click on the desktop.
- Select Personalize from the context menu.
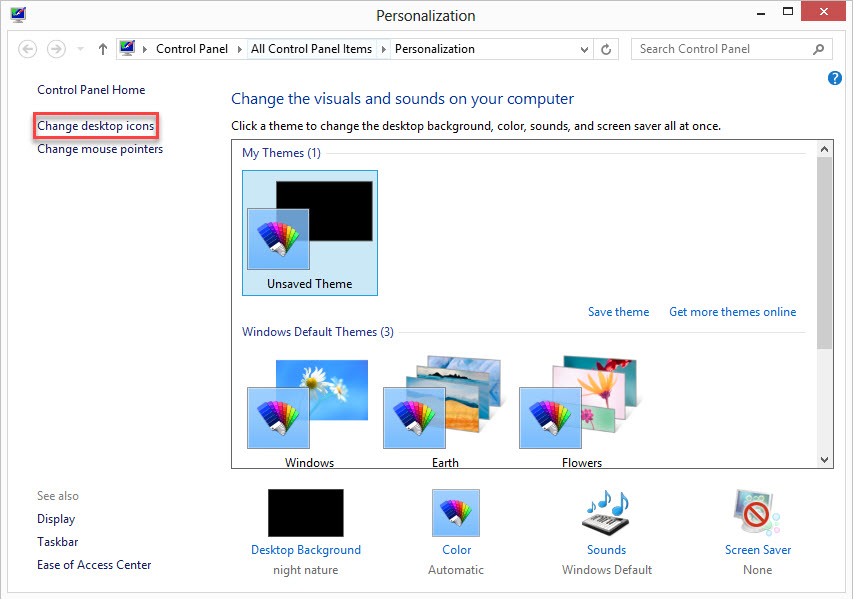
- Now, the personalization screen will appear. There, click on the “Change desktop icons” link on the left sidebar.
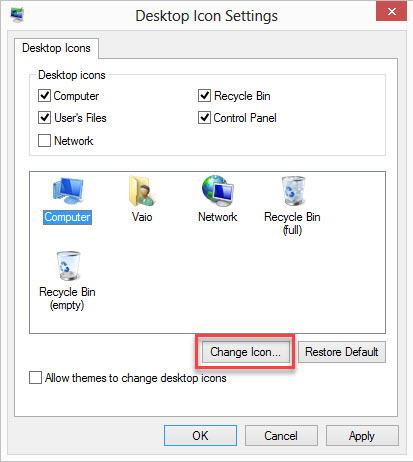
- Now, select and highlight the icon you wish to change, and click the Change Icon button. If you are using Windows 7, there will be a box saying whether to allow themes to change icons or not. Uncheck it if you don’t want themes to change your icons that you are going to change.
- Now, the icon selection window will open up where you can select any of the provided icons by windows. If you have any other .ico files in your PC (You can download them from the link given above), just click the browse to find the icon.
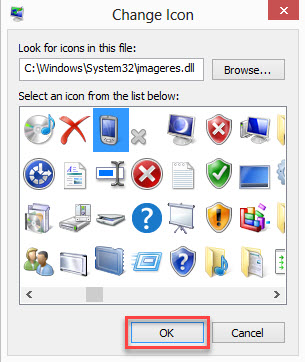
- After selecting the desired icon, click Ok.


Now you have some cool desktop icons. You can also change the desktop icons size by right-clicking on the desktop and selecting the appropriate option from the “View” section.
Change Folder or Shortcut icons in Windows
The steps to change folder icon, or to change shortcut icon is almost same. You have to do the same procedure for all of them which is given below.
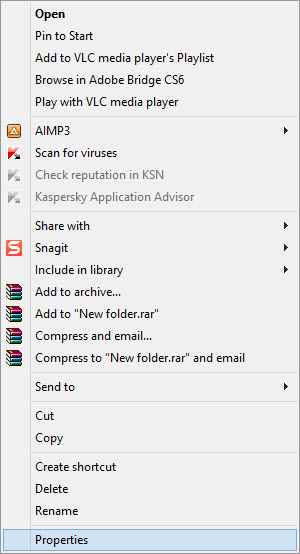
- Right-click on the folder or shortcut.
- Select Properties from the context menu.
- Navigate to the Customize tab.
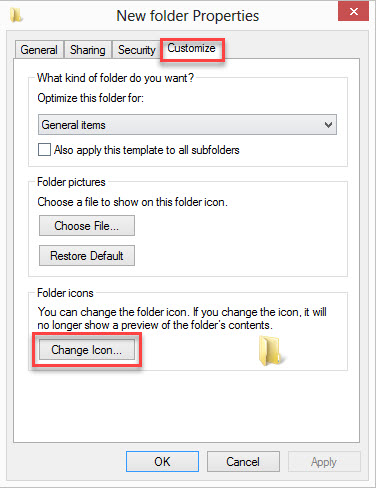
- Now, click the Change Icon button.
- The remaining steps are as described in the above section.


Now, you have some stylish folder icons as well as some good shortcuts.
Change Drive Icon
Having some stylish, cool looking drive icons in your my computer window is not that bad. So, if you ever wanted to tweak the drive icons in Windows, follow these steps.
- Download Drive Icon Changer and run it as administrator by right-clicking on the file and selecting “Run as administrator” option from the context menu.
- Now, the program screen will show up. There, select the drive that you want to change the icon of. Then browse the icon.
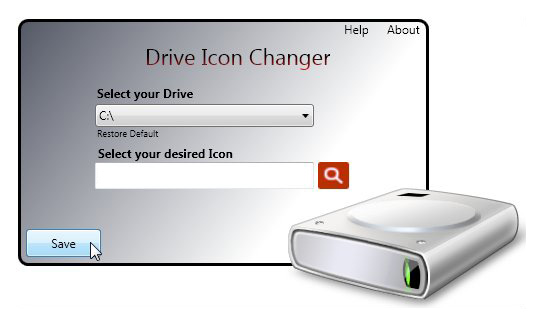
- Just click the Save button and a message saying “Icon changed successfully” will pop up.
- If it is prompted for a reboot, click Yes.

After rebooting completed, you will see the drive icon has changed. Repeat the same steps for all the drives if you want to change multiple drive icons on your PC.
Change EXE icon
Changing the EXE icons is a little tricky. But it is also very easy as the above methods. If you want to change the icon of any .exe file, follow these steps.
Note: It is recommended to change the icons after creating a backup copy of the .exe file.
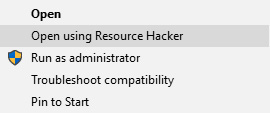
- Download Resource Hacker and install it.
- It will add an option namely “Open using Resource Hacker” to your context menu. Just right click on the EXE file and choose that option.
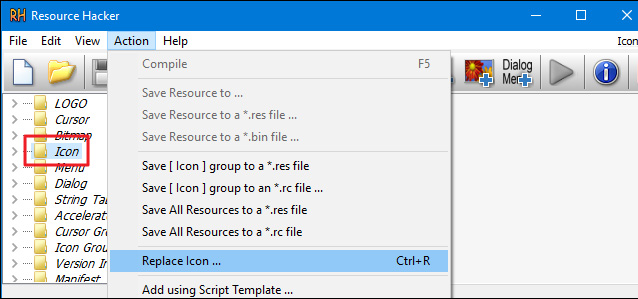
- Now, the resource hacker window will show up. There, select the “Icon” folder in the left pane and click the “Action” menu on the top and then select “Replace Icon” option.
- Now, another window will open up. There, click the Open file with new icon button and browse the icon. The file types like EXE, RES, DLL, or ICO are allowed.
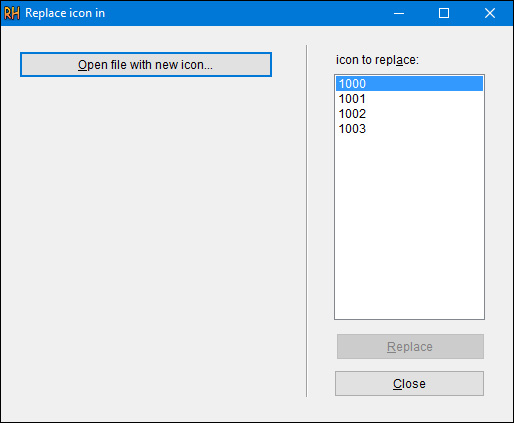
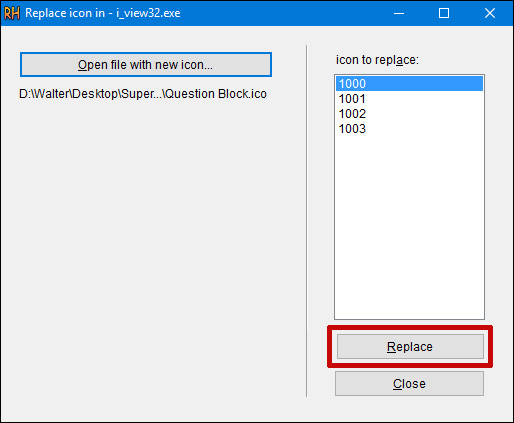
- After choosing the icon, it will preview it in the left side. Now, select the icon to replace from the right side. If multiple items are listed there, you have to find the right one to replace. Usually, the first one will be the EXE file icon.
- After highlighting the correct icon to replace, click the “Replace” button.
- Now, you will be directed back to the resource hacker screen, and you can see several new icon sizes are showing in the icon folder.
- You can now save the EXE file and replace the EXE file if prompted.


Now, go back to the location of the EXE file, and you will see a new icon will be applied to that file.
How to Restore the Default Icons
After changing the icons, at any time you wanted to restore them back to default, just follow these steps.
Restore the Default Desktop Icons
- Right-click on the desktop and select “Personalization” from the context menu.
- Click “Change desktop icons” option in the left pane.
- In the opened window, click the “Restore Default” button.

- Now, your desktop icons will then be restored to their default.

Restore the Default Folder or Shortcut Icons
- Navigate to the icon selection screen by following the instructions in “Folder or Shortcut icon change” section.
- Now, you will see a “Restore Default” button. Click on it.
- And that’s it. Your folder icons will be restored to default.
Now, you know how to change icons in Windows. These steps are applicable to almost of the windows version including, Windows Vista, Windows 7, Windows 8, Windows 8.1, and Windows 10. Also, you can download any of the icons pack available in different sources online. Also, check out the free icon websites. They will provide you with the best looking icons for your files and folders. If you face any difficulties in the process, do not hesitate to ask us help. We will be happy to help you.