

Are you trying to share your Mac connected printer with Windows? Sharing a Mac connected printer is a pretty easy process. Many feel that the process is complicated and Mac settings are a bit tough to configure. In real, sharing a Mac connected printer with Windows is very easy and saves money. You don’t need to buy a separate Printer for Windows PC.
In this tutorial, you will learn “How to share your Mac connected Printer with Windows“. This tutorial is tested on Mac Catalina and Windows 10 OS.
Requirements:
- A common network either wired or wireless Internet connection.
- A printer connected to the Mac running OS X 10.5.x or above.
- A Windows PC or laptop connected in the same network.
The very first step you need to take is making sure both the machines following the same workgroup. By default, both the Mac and Windows create a WORKGROUP network when they establish an Internet connection.
If you have changed the Workgroup name on Windows, then you’ll need to change the workgroup name to match with the Mac name.
If your Workgroup name is different on Windows or Mac, change any one group to match with the others. Here are the steps to follow.
How to share your Mac connected printer with Windows
Step 1: Change the Workgroup Name on Your Mac
- Open “System Preferences” by clicking the icon in the dock.
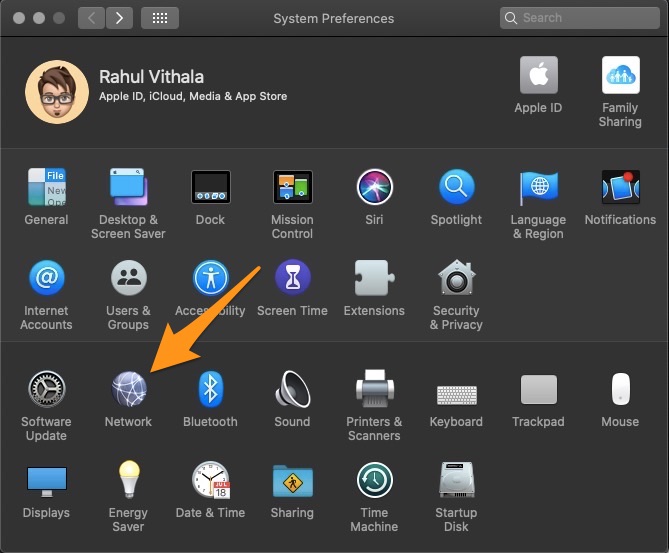
- Now click on the “Network” icon in the System Preferences window.

- Here select “Edit Locations” from the Location dropdown menu.
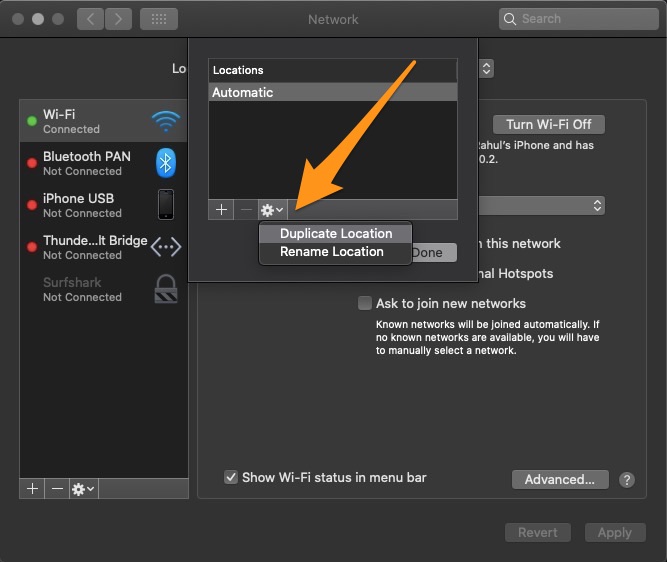
- Now create a copy of your network connection by clicking on the gear icon and select the “Duplicate Location” from the menu.
- Here type a new name for the duplicate location or use the default name.
- Now click on the “Done” button to finish.
- Now click the “Advanced” button and select the “WINS” tab.
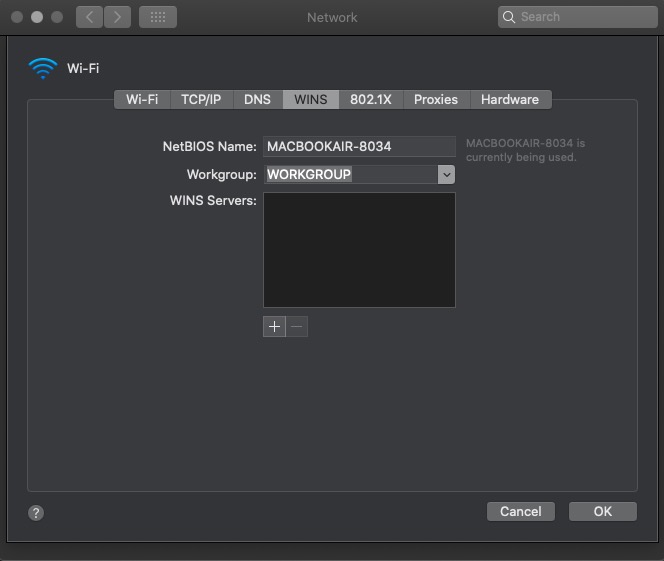
- Here in the “Workgroup” field, enter your Workgroup name.
- Now click on “OK” and “Apply” buttons.


Step 2: Enable Printer Sharing on Your Mac
Once you configure the Mac workgroup now it is the time to share your printer. Let’s get started.
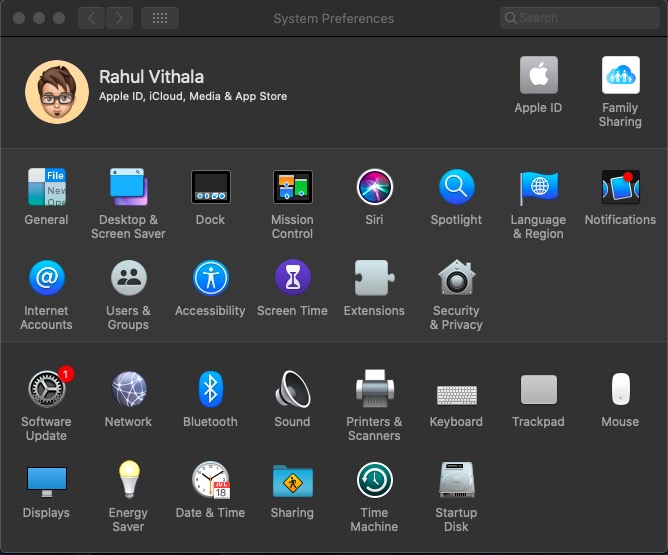

- Launch “System Preferences“.
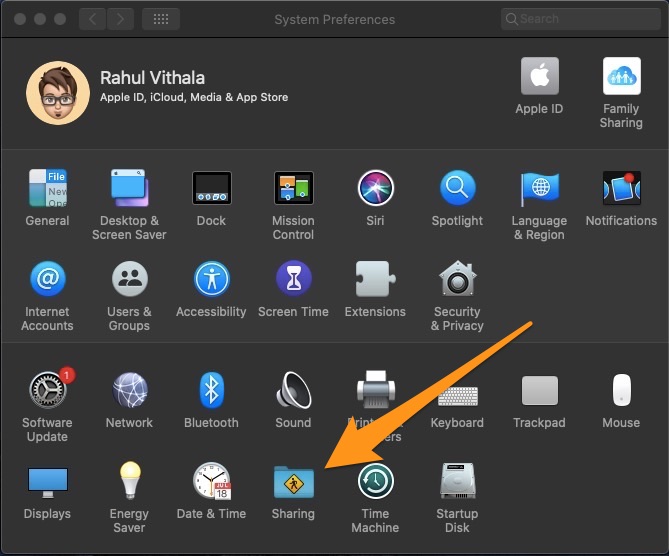
- Here, select Sharing preferences.
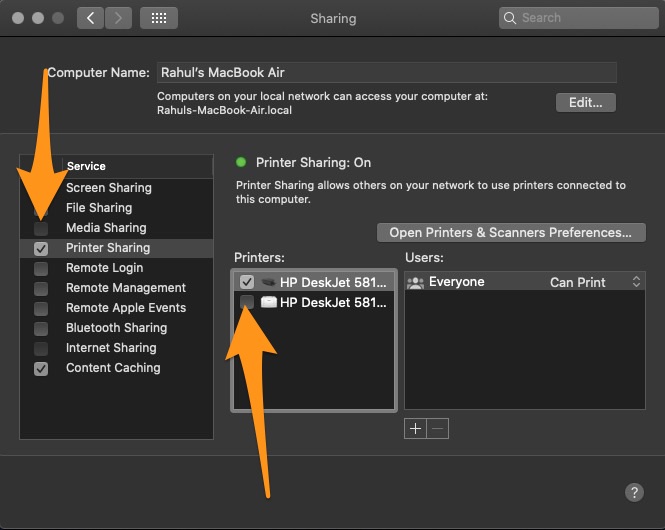
- In the Sharing preferences, you will see a list of available services. Here check the mark next to the ‘Printer Sharing’ in the list of available services.
- Once you enable this feature, the shared printer will appear on the Window. Here check the printer you want to share.
- Now close the System Preferences.


Step 3: Add the Shared Printer to Windows
Configuring and sharing the printer options on Mac is now over. Now it is the time to find and add the Mac shared printer on Windows.
- Open Control Panel by searching in the Windows menu.
- In the Hardware and Sound category, select “Printer“.
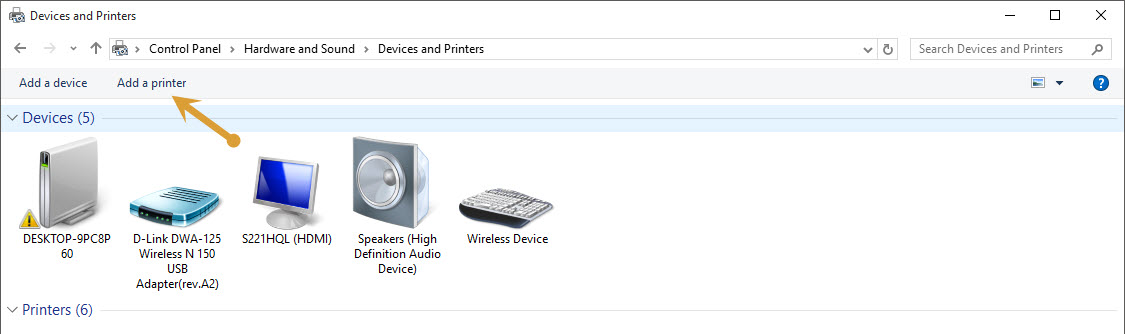
- Now, click on the ‘Add a Printer’ option.
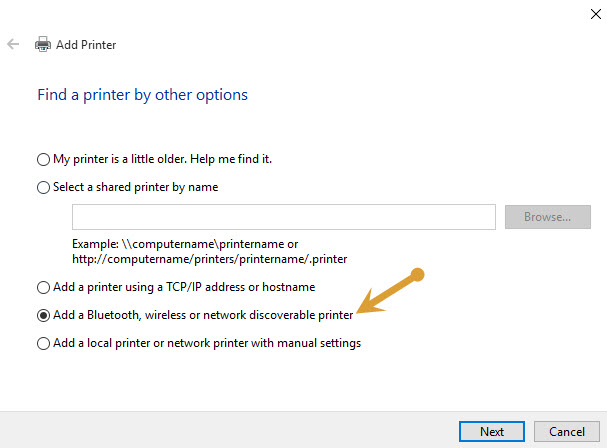
- In the Add a Printer window, click the ‘Add a network, wireless, or Bluetooth Printer’ option.
- It will open “Add a Printer” wizard and will look for available network printers.
- After finishing the search, you will see a list of available shared printers on the same network.
- Here, select the Printer which is shared in the above steps.
- During the process a warning message will display, telling you that the printer does not have the correct printer driver installed. It is not a serious warning and you can proceed by clicking on the OK button.
- The printer wizard will show the “Manufacturer” column and here select the printer company name.
- It will take some time to add a shared printer on Mac to Windows. Once, the process finishes, you can start the printing job on Windows 10.


That’s it. By following the above steps you will configure, add and share Mac’s printer to Windows 10. Let us know your valuable feedback in the comment box below. “Happy Printing”