


Apple has a fantastic storage option called iCloud to save our precious documents, photos and many more in their cloud storage. The free plan allows you up to 5GB of space and whereas the paid subscription model lets you use 50GB, 200GB and up to 1TB of online storage.
Most of the people are using iCloud service to save their memories. Yes, all your photos on your iPhone are automatically uploaded to iCloud service when you enable the option. It is the best option to save and backup the photos and it lets you download on any other platforms if you want.
If you are planning to download iPhone photos from iCloud to your Mac, then you are in the right place. In this tutorial, you will know “How to download iPhone photos from iCloud to your Mac“.
How To Download iPhone Photos From iCloud To Your Mac
To download your iPhone photos from iCloud follow the below steps.
-
- Open iCloud website on you Mac.
- Log in with your Apple ID which is used on your iPhone and then click next button.

- After opening the iCloud Dashboard, click on “Photos“.
- Now you will see your iPhone photos on the iCloud user interface.
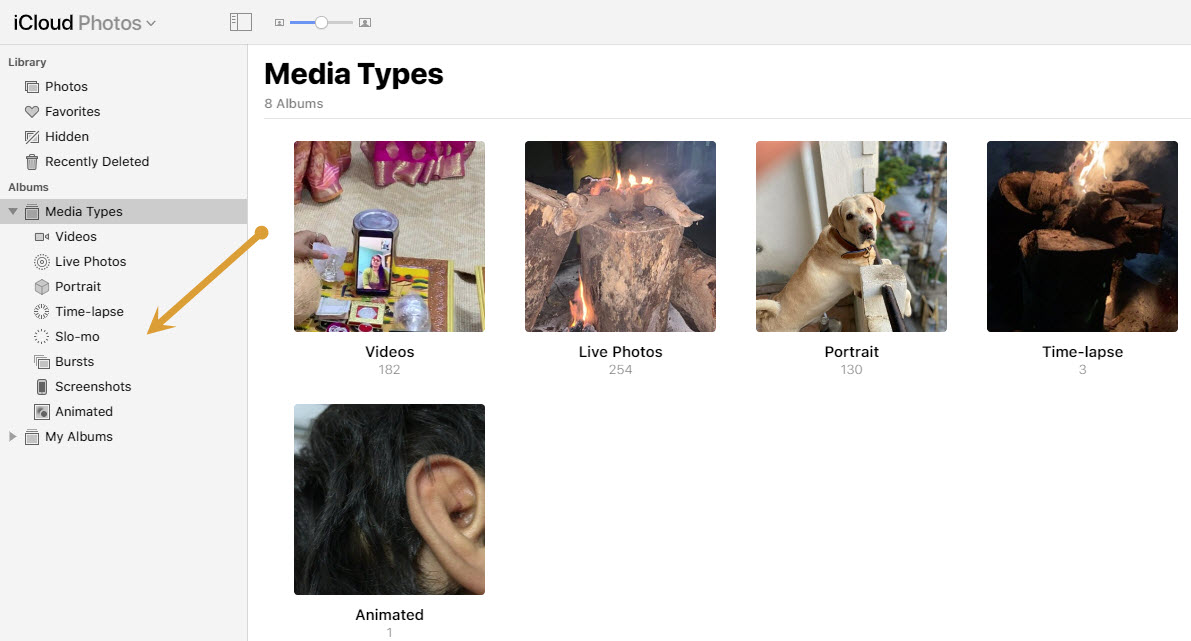
- Here, you can navigate the albums and media types on the left pane.
- Now click on the photos and highlight them to download.
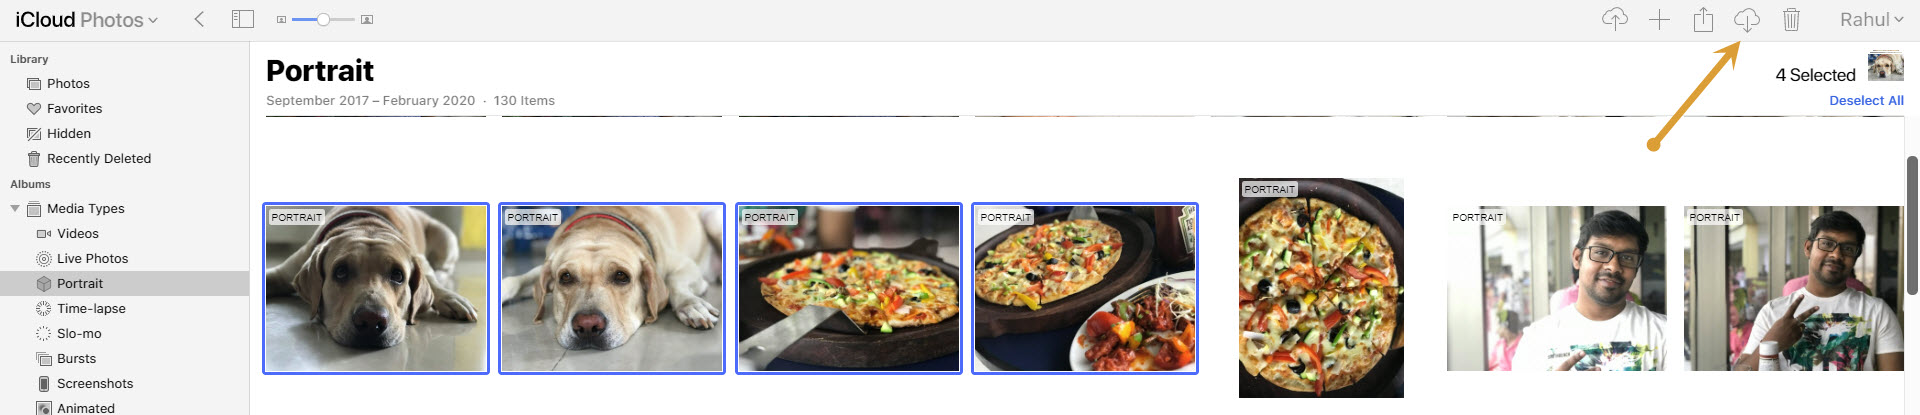
- Here, click on the download button at the top of the screen to download the selected photos from iCloud on your Mac.


That’s it. Now you can download the iPhone photos on your Mac without any hassle. Let us know your experience while downloading the iPhone photos from iCloud on your Mac in the comment section below.