

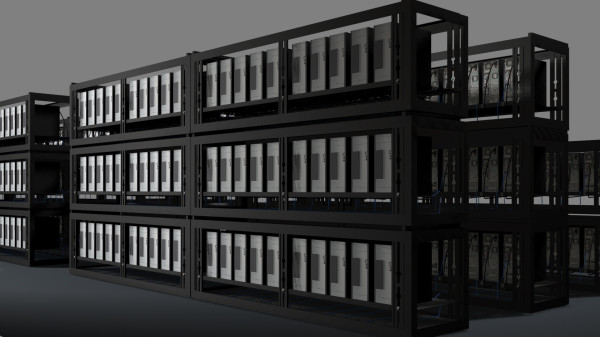
Server racks are steadily becoming common nowadays. They are an important tool in organizing different aspects of a back-end computer network that include storage, servers and networking equipments like switches and routers. Many people choose to purchase one at a nearby store, but their price tags can be rather high.
Because of this, many people want to build their own server rack. They will save lots of money when they build their own rack, and it can be customized based on their needs.

Tools
Four 1 to 1 1/4 inch 3 foot steel box tubes
Six 1 to 1 1/2 inch 3 foot steel right angles
Five 1 to 1/5 inch by 1 to 1/2 inch 2 foot steel right angles
Ten inch economy hacksaw
Two 1 to 1/4 inch casters in dual packs
40 lock and flat washers
One box of 20 1/2 to 2-inch bolts with nuts
Two 1 to 3/8 inch 3-foot steel plates
Step One: Design
This step is very easy as the rack will be a 19 inch by 30 by 36 inch box. People should remember that the 1 to 1/4 inch box tubes would be used as vertical braces while the right angles are to be used as horizontal braces.
Step Two: Cut the Bottom and Top Braces
The 1 to 1 1/2 inch angle pieces should be 19 inches long. If they are much longer, use a hacksaw to cut to the desired length.
Step Three: Construct the Ends
Now that the braces have been cut, they should be screwed into the 1 to 1/4 inch tubes. Use the 2 inch bolts to secure them. This is done using a screwdriver on the server rack hole and tightening the nut from the outside. After doing this, it is very important to test the rack’s weight tolerance with a computer case. This will ensure that it is strong enough. Otherwise, the rack will not last for very long.
Step Four: Cut the Cross-Pieces Back
The cross pieces are usually 36 inches long, and the design requires them to be 30 inches. Using a hacksaw, make sure that they are cut precisely to make sure that the ends fit perfectly.
Step Five: Bolt the Pieces Together
After bolting everything, test once again to determine the rack’s strength. Otherwise, major problems will arise when installing servers.
Step Six: Back Brace
After testing the strength, it is very important to install a brace to hold up the back of the servers even though there are bolts holding them from the front. A 3-foot angle brace on either side should do the trick.
Step Seven: Put the Diagonal Braces In
Step Eight: Put on the Wheels
Wheels are very important for a rack to move around easily. It is also a great idea to use a piece of plywood as a base to securely hold the UPS if no sheet metal is available.