


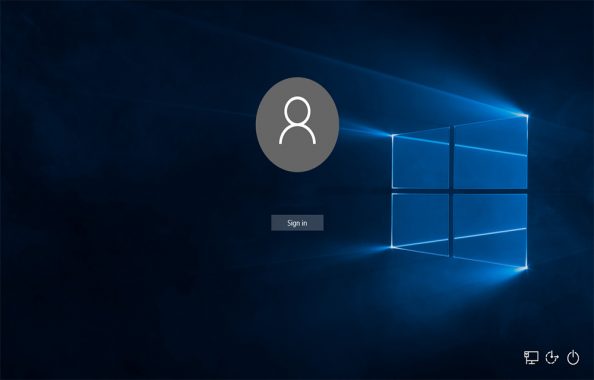
The Fast User Switching in Windows 10 is a good feature that allows switching users without interrupting the operations of the current user. The user will stay logged in, and all running applications will keep running even if the new user is working on the same computer. This allows to use the PC for multiple users without having to worry about the work loss or doesn’t require saving your projects each time to pass the PC to your friend.
Even though, this feature may sometimes create problems and affect the speed of the system in few conditions. Disabling the Fast User Switching can solve the problem. If you want to do this on your PC too that often shared with your roommate or colleagues, follow the simple steps given below.
Disable Fast User Switching in Windows 10 Using Group Policy
There are two ways you can do this; the first one is using the Group Policy editor. To do this, follow these steps,
- Open the Run by holding the Win+R keys together.
- Type “gpedit.msc” in the box and press Enter.
- Now, the Local Group Policy Editor will appear. Navigate to Local Computer Policy > Computer Configuration > Administrative Templates > System > Logon.
- Now, open “Hide Entry Points for Fast User Switching“.
- Select the “Enabled” option to turn Fast User Switching mode off.
Note: If you want to re-enable the option, simply follow all the steps above and choose “Disable” in the last step.
Disable Fast User Switching in Windows 10 Using Registry Editor
There is another method to turn off Fast User Switching in Windows 10. Here is it.
- Open the Run box by holding the Win+R keys together.
- In the Run command box, enter “regedit” then press “Enter“.
- In the Registry Editor, navigate to HKEY_LOCAL_MACHINE > SOFTWARE > Microsoft > Windows > CurrentVersion > Policies > System.
- Find a value namely “HideFastUserSwitching“. If you can’t find the option there, right-click the “System” folder from the left panel, select “New DWORD 32-bit value“ from the context menu, name the value as “HideFastUserSwitching“ and press “Enter”. Now a value will be created.
- Finally, Double-click “HideFastUserSwitching“ option and change the “Value data” to “1” to disable Fast User Switching mode.
Note: As we’ve already mentioned in the previous method, you could set it to “0” to enable the option. Follow the same steps as above except the last one.
Any of the above methods should work for you as we’ve personally tested them our own and by our users. Most of them reported it as working perfectly without any problems. Even though, the Group Policy Editor may not be available for the basic Windows 10 users. But they are available in both Pro and Enterprise versions of the OS. Please feel free to leave your feedback. It will help us as well as the users.