

There might be some situations where you are not able to use your mouse cursor to control your PC. Either it is a mouse malfunction or a port issue, you will be no longer able to use the mouse on the computer. In such situations, there is a nice way to control the mouse cursor on the screen using your keyboard! I am not joking, even Windows has a built in functionality or can be said a shortcut which let you control the cursor on your screen using the keyboard. Just press Left Alt + Left Shift + Num Lock.
A window popup will show up with a Yes or No option to enable the mouse keys. If your mouse is not functioning at all, use the “Tab” to switch between the buttons and “Enter” to click on it. If it is not working yet, you can follow the instructions given in following sections to enable to the Mouse Control option in windows.
Enable Mouse Control in Windows 7 / Vista / XP
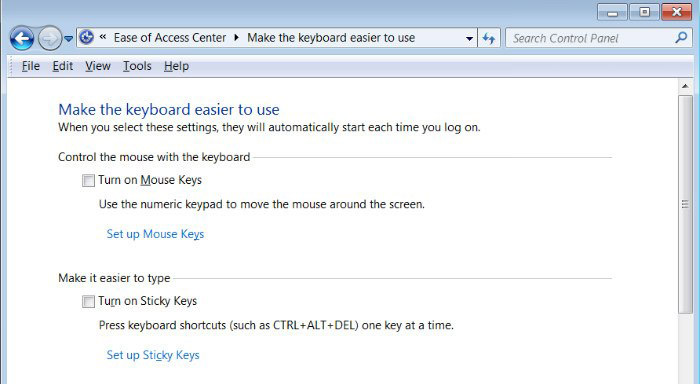

Go to the “Control Panel” either by a desktop shortcut or by pressing “Windows Key” and using “Tab” and “Enter” to click the “Control Panel” option. Then highlight “Ease of Access” option using the keyboard and press Enter. This will open the Ease of Access Center. Now, select “Change how your mouse works” option and press Enter. In “Make the mouse easier to use” section, check the box next to “Turn on Mouse Keys with Enter or Spacebar.” Finally, select “Apply.”
Enable Mouse Control in Windows 8/8.1

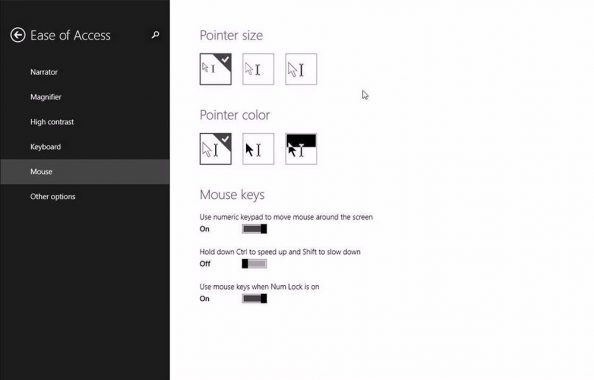
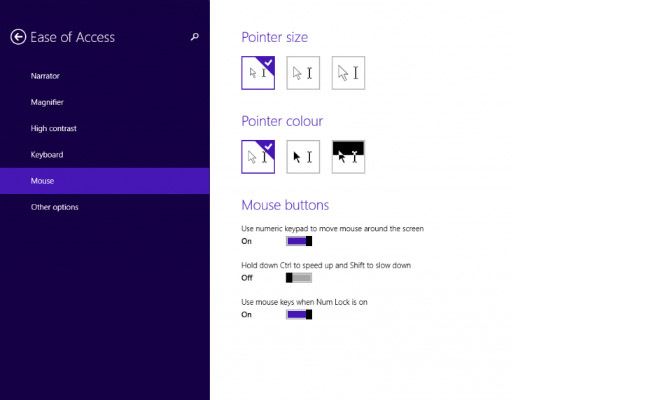
Open the start screen by pressing the “Windows Key” and type “Mouse”. Now, click on the “Ease of Access mouse settings” option using the keyboard. Finally, toggle the option under “Mouse Keys” to “On.”
Enable Mouse Control in Windows 10

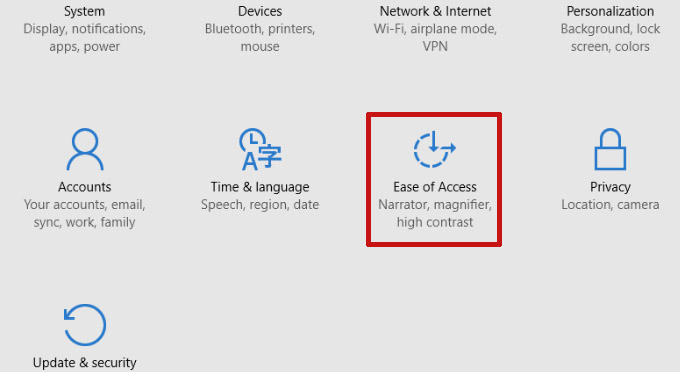
Go to the start screen by pressing “Windows” key and type “Ease of Access mouse settings” and press Enter. Find an option namely “Mouse Keys” and click on it. Navigate to the “Use numeric keypad to move mouse around the screen” section. Toggle the option to “On” using the Tab and Enter keys. That’s all, you’ve successfully enabled the mouse control in Windows 10.
Keyboard Keys to Control the Mouse
These are the keyboard keys you should use in order to control the mouse cursor across the screen.
Note: To click on items using the Mouse Keys control, you must select active mouse button, left, right or both. The selected mouse button will remain active until another button is made active by the user. After choosing an active mouse button, you can begin clicking on items using the last 5 commands (except the very last 2) in the following table.
| Action | Num Key |
|---|---|
| Up and to the left | 7 |
| Up | 8 |
| Up and to the right | 9 |
| Left | 4 |
| Right | 6 |
| Down and to the left | 1 |
| Down | 2 |
| Down and to the right | 3 |
| Select the left mouse button | Forward slash (/) |
| Select both buttons | Asterisk (?) |
| Select the right mouse button | Minus sign (-) |
| Click an item | With the left button selected as active button, point to the item, and then press 5 |
| Right-click an item | With the right button selected as active button, point to the item and then press 5 |
| Double-click an item | With the left button selected as active button, point to the item and press the plus sign (+) |
| Drag an item | Point to the item and press zero (0) |
| Drop an item | Point to the destination location and then press the decimal point (.) |
Now you know how to control your mouse cursor using keyboard like a pro.