


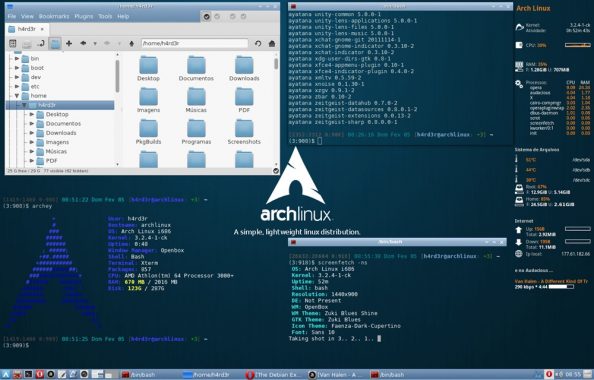
Linux is an open source operating system. However, there are several distributions of Linux. Arch Linux is one of the most difficult distributions. It is designed in such a way that only people who are comfortable with Linux can install the distribution. If you attempt to install Arch Linux, you will know tat the distribution is oriented for power users.
To install Arch Linux, you need a USB drive with 512MB storage, Etcher app, and the distribution file. You should also learn the steps required to boot into the BIOS on the system.
Firstly, you need to create the USB disk by running the Etcher app. You should select the Arch Linux ISO. Etcher will automatically detect the connected USB drive. If a wrong USB drive is detected, you should select Change under the drive and modify the options. If you select Flash button, you will be prompted to provide admin password.
The next step is to boot into Arch Linux from the USB drive that you have created. However, you should make sure that your system boots from USB by navigating to the BIOS settings. You will find a tab named System Configuration, where you can alter the boot order preferences.
As soon as you connect the drive, you will view a series of commands while the Arch Linux is under booting stage. You will see the statement root@archiso ~ # at the top of the command line interface. You can create partitions and establish connectivity with WiFi. To connect to WiFi, enter wifi-menu -o and select the relevant options.
Are you afraid of partitioning? You need to enter the command lsblk into the console. You then need to run the command – parted /dev/sda. You will see a command GNU Parted 3.2 on the console.
Create the partition table with the command mklabel msdos. You then need to partition in GPT/EFI, which is identical to that of the MBR/BIOS mode. The partitioning process is very lengthy and you can go through the steps by referring to an article published on Addictive Tips article.
You can then kick-start the installation process using the pacstrap command – pacstrap -i /mnt base base-devel. You then need to generate an Fstab by using the command – genfstab -U /mnt > /mnt/etc/fstab. You can configure the new installation by providing the command – arch-chroot /mnt.
The remaining steps involve configuring the system, selecting a desktop environment and configuring the graphics environment. You need to complete all the steps to successfully install Arch Linux.
The final step is to select a desktop environment. You can begin by installing the Xorg system by using the below pacman command
pacman -S xorg-server xorg-server-utils xorg–xinit mesa xf86-input-synaptics
You can then install Gnome shell by using the below commands
pacman -S gnome gnome-extra gdm networkmanager network-manager-applet
systemctl enable gdm
systemctl enable NetworkManager
It is possible to install KDE Plasma, LXDE, LXQT, Cinnamon, Budgie, XFCE4, and Mate depending upon your requirements. When it comes to graphics drivers, you need to install Intel, Nvidia, and AMD drivers. As you can see, installation of Arch Linux is pretty difficult. However, once you follow the steps then it’s easy to get is installed.