


Ubuntu is a most user-friendly version of Linux and comes with a great list of fonts when you install. If you are not satisfied with the available list of fonts in Ubuntu, you can install additionally from other sources. Installing a font file on Linux is a pretty simple process. The below procedure works for Ubuntu and other Linux distros like Linux Mint.
Step 1: Download Fonts
First, choose the fonts you want to install on Ubuntu. If you are wondering where to get good looking fonts, don’t worry, there are a ton of fonts resources available on the internet offering various stylish and attractive fonts for free of cost. Type “free fonts” and google it, you will get many websites which offer free fonts. For example, you can go with Dafont, Fonts Squirrel here for free fonts.
Step 2: Install Fonts on Ubuntu
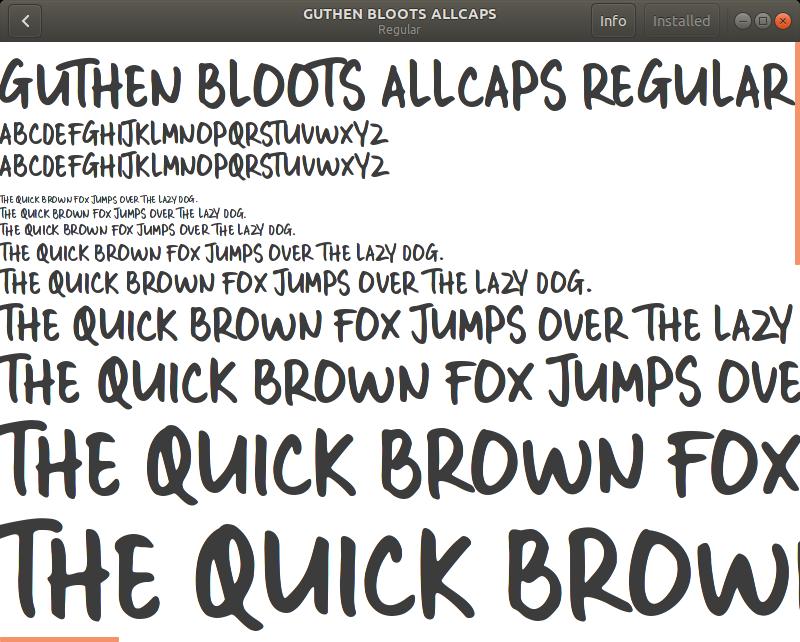

Once you picked the font of your choice, now it is the time to install in Ubuntu. First, open the downloaded font file, most of the fonts will be downloaded in TTF or OTF formats. Now open the downloaded font file, here you will see an Install button at the top right corner. Click on the button to install the font. It just takes few seconds time depending on your machine speed. Once the font is installed, you will see the Install box turned into Installed. This means the fonts is successfully installed in Ubuntu.
Now the installed font start working when you open a compatible application like GIMP.
How to install multiple fonts at once Ubuntu?
The above procedure is suitable only if you want to install a single font file on Ubuntu. For multiple fonts files installation, this method takes a lot of time and effort. There is a simple way to install multiple fonts Ubuntu.
Install the font manager application on Ubuntu to make multiple font installations easily. Type the following command in Terminal and execute it. This command will install the font manager on your machine.
sudo apt-get install font-manager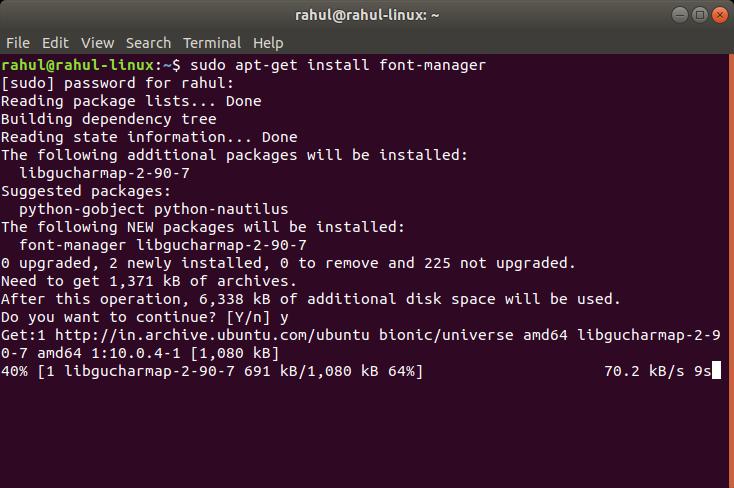

Now the installation will look like in the above image and once it finishes you can start using the font manager on Ubuntu.
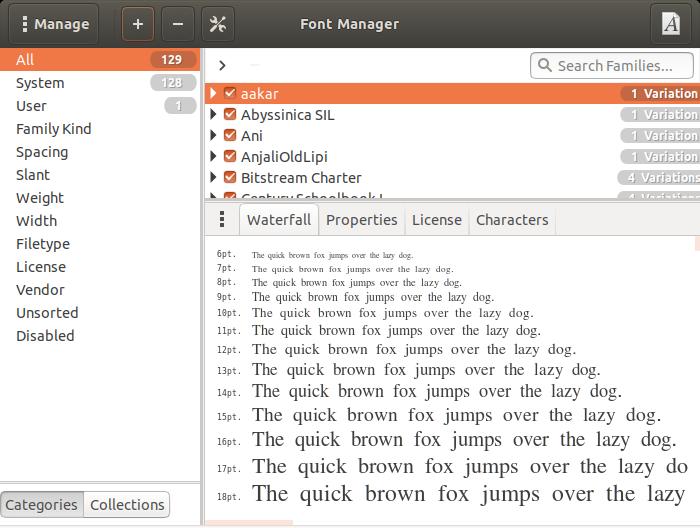

The font manager looks like in the above image. Add + icon in the user interface to add as much as fonts you want at a time.
That’s it. I hope you enjoyed the article. Please do share your valuable feedback in the comment box below.