

Mac’s are ultimate machines, but they are very costly.Hackintosh is a superb combination of non-Apple hardware with Apple OS.When compared to original Mac’s price with Hackintosh, Hackintoshes are very cheap and fits in your budget.But choices are limited in choosing the perfect hardware.Building a perfect Hackintosh is a long process, but if you understand it correctly it is simple.
You can build your own Mac by using this guide. Hackintosh saves lot of money and gives you a powerful and highly customizable machines.This guide gives an idea of building your own dream machine, sometimes the process change depending upon hardware compatibility. I’ve built a sample Hackintosh by combining custom components.Read all custom components buying guide on Tonymacx86 blog.
Sample Build Components:
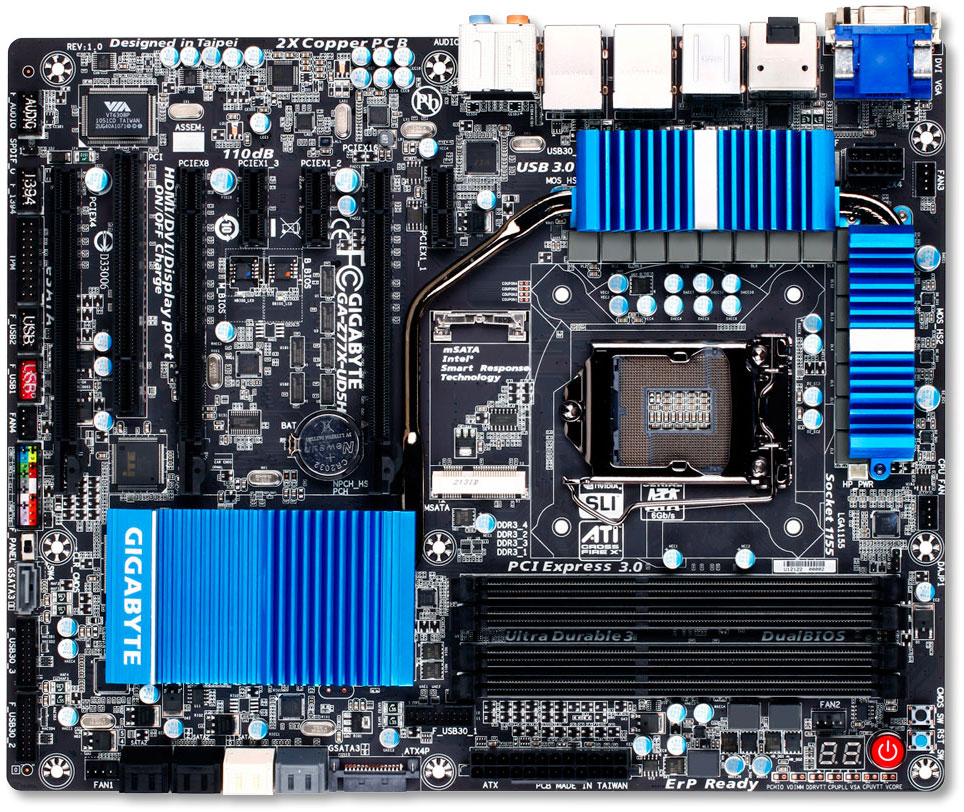
Motherboard: Gigabyte Intel Z77 LGA 1155 Dual UEFI BIOS ATX Motherboard ($104)
Processor: Intel 3.3 GHz LGA1155 Core i5 3550 Processor ($226)
GPU: HIS AMD Radeon HD 6700 Series ($100)
RAM:Corsair DDR3 4 GB (2 x 4 GB) PC RAM ($60)
Optical Drive: Lite-On Super AllWrite 24X SATA DVD+/-RW Dual Layer Drive ($22)
Power Supply: Seasonic S12II 620 Watts PSU ($100)
Hard Drive: WD Caviar Green 1 TB Desktop Internal Hard Drive (WD10EARX) ($80)
SSD(optional):OCZ Agility 3 60 GB SSD Internal Hard Drive (AGT3-25SAT3-60G) ($85)
Wi-Fi(Optional): TP-Link PCI Express Adapter
How to Install Mac OSX on your Hardware:
Installing Mac OS X is a little bit complicated process.Configuring, booting and customizing can take some time to complete the process.
1.Configure BIOS:
When you turn on a computer you’ll see BIOS screen first.In order to install Mac OS X on your machine configuring BIOS is first step.BIOS can be accessible by pressing Delete key on your keyboard.Normally BIOS settings for every motherboard is somewhat similar but sometimes varies.Here are the some settings you need to configure in your BIOS to make your system Hackintosh friendly.
- Disable Quick Boot: Quick Boot settings normally found in Advanced BIOS settings.Just disable the quick boot settings.
- Change the Boot device order: Put your Boot device order as the optical device in first and SSD or Hard drive in second place.
- Configure SATA to AHCI: By default the settings are in SATA mode.You need to change the boot device order from SATA to AHCI.
Once you’ve configured these settings, your system is ready to install the Mac OS X OS.
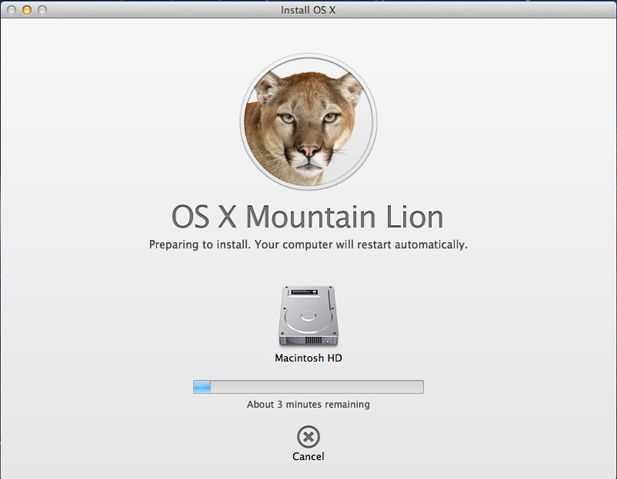
2.Install Mac OS X Mountain Lion:
Requirements:
- Mac OS X Mountain Lion
- 8 GB pen drive
- Unibeast
- MultiBeast
Now install a copy of Mac OS X Mountain Lion from the Mac App Store or on a thumb drive.This process needs a Mac if you don’t have asked a friend or do it on VM Ware image of Mac OS X.
- Connect the USB to a Mac and open disk utility.(Macintosh HD -> Applications -> Utilities folder).
- Click on your thumb drive in Disk Utility and then click the Partition tab.
- Click on the drop-down menu “Current” and choose “1 Partition.”
- Click on the “Options” button and select the partition scheme “Master Boot Record.” Click “OK” to accept.
- Give the pen drive the name USB
- Set the drive’s format to “Mac OS X Extended Journaled.”
- Click on the “Apply” button and then the “Partition” button.
- When Disk Utility has finished partitioning your disk, make sure the “Install Mac OS X Mountain Lion” application you purchased from the Mac App Store is in your Applications folder. For Mountain Lion thumb drive users make sure to connect your drive to the computer.
- Open UniBeast and choose the USB thumb drive you just partitioned and click “Continue.”
- Now it asks for Legacy USB support.Installing Mountain Lion on a motherboard with an 1156 chipset, you’ll need the legacy USB support. If legacy USB support isn’t working for you, just add your motherboard’s patched DSDT file to the hidden /Extra folder on your installer drive. Next click “Continue” and enter your admin password.
- It will take some time to install (app 15-50 min) Do not unplug the drive.
After Unibeast, finishes unplug the drive and insert into Hackintosh system.Press the key to the access boot selection menu (Commonly F10 or F12).Now you’ll see a tonymacx86 logo on your screen, choose the option and boot into the installer.
After finishing booting, you’ll see a welcome screen and can choose your language. Before you can continue you’ll need to format your disk. Go to the Utility menu and choose Disk Utility. Select the disk you want to use for installation and format it.
Steps to format Disk:
- Choose the disk in Disk Utility and click the Partition tab.
- Set the partitions to one or multiple and their format to Mac OS Extended Journaled.
- Click the options button and set the partition scheme to GUID Partition Table
- Click Apply and wait for the disk to finish formatting.
After successful disk formatting, you can run process normally like on other Mac’s.After completing the process, you’ll see “Installation Failed” message.Don’t worry it is a part of the process.
3.Install your Drivers:
In order to work properly you’ll need to install your drivers.Copy MultiBeast to your Hackintosh’s hard drive and open it.Install the drivers based on your build.
EasyBeast: No need to install.
UserDSDT Install: If your motherboard doesn’t require a DSDT file, just check the box and don’t include a DSDT file.
System Utilities: It’s good to check System Utilities as it repairs permissions, runs maintenance scripts, and other helpful stuff.(Newer version of MultiBeast don’t offer this option).
Drivers & Bootloaders: Most graphic cards won’t need drivers, just check the subsection and turn on the graphic enabler.Enable drivers for the Disk section they will help for SATA and eSATA disks.
NullCPUPowerManagement:Enable.
UserDSDT Files: If your board is from out of the list install the relevant audio driver (most newer boards don’t need this).Once you checked all boxes proceed to run MultiBeast.
After checking the boxes run the MultiBeast. When it completes, and now you can restart to your brand new Hackintosh.
For some external Wifi, cards download the drivers from tonymacx86 and InsanelyMac forums.
Now update the Mountain Lion (10.8.2 to 10.8.4) simply by downloading the file from Apple site.Upgrade brings new features as well as Hackintosh related problems.Before updating create a bootable backup first.If everything went smoothly, you’ll operate custom build Hackintosh.
If things go wrong you can use tonymacx86’s rBoot rescue CD for troubleshooting.