


Android devices are well known for their features. The popularity of Android has surged over the past few years, it’s dead simple interface makes every task quite user-friendly.They come with all latest sharing technologies like Bluetooth, WiFi, and NFC. Along with connectivity, you can also enable USB storage on Android devices. It is a built-in feature and comes loaded with every Android device.
Enabling USB storage option on Android is a pretty simple straightforward option and requires no rooting or coding.
How To Enable USB Storage On Android Devices
Here are the steps that you need to follow in order to enable USB storage on Android:
- Launch the “Settings” option present on your Android device.
- In the Settings, you will find a list of options like WiFi Direct Settings, Bluetooth Settings, Tethering, VPN Settings and “USB Utilities”.
- Here click on “USB Utilities” option and next click on “Connect Storage to PC”. Here it will prompt you to connect the USB cable to the computer.
- After successful connection, the green color Android logo appears on the screen.
That’s it, now you have a successfully connected Android device to your computer. If you are facing any issues while connecting the device to your computer please check the following points.
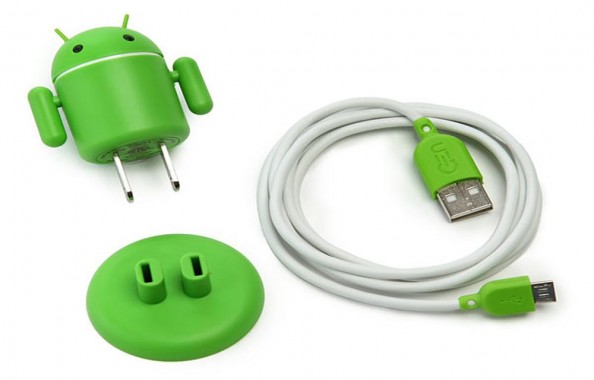
- Must use an original USB cable provided by the device.
- Check USB ports working or not on your computer.
- Both device and computer must be running.
The above guide is applicable to old Android versions only, the latest Android KitKat and above comes with easy connectivity options.
Please feel free to comment if you have any issues while connecting your device to the computer. We are here to help you.