Windows has been existing for just over two decades in the consumer market, from entry level computers to high-end computers. The secret of Windows to be popular is being flexible, customizable and comprised with rich contents compared to other operating systems. In addition to the aforesaid traits, Windows is also quite good at performance with the regular patches released by Microsoft. Given the fact that Microsoft has been releasing patches to improve the performance, still many complain float around in the Internet about the performance. But the performance isn’t improved just by updating Windows. So this article discusses how to improve the performance in Windows 10, and keep it stable without any issues.
Recommended:
Before you proceed to undertake following steps for resurrection of lost speed, try the short-cut: use RegInOut System Utilities which provides smart features to boost speed in no time.
Solution 1: Scan The Computer for Malware
Certain malware activities can bring the computer to its knees. Therefore, it’s important to have a good malware guard installed in the computer to keep the harmful contents at the bay. Windows already has an inbuilt malware guard – Windows Defender which provides the basic security needs for the system. Should the system need additional protection, then try a commercial malware guard like Kaspersky, Norton. The following guide teaches how to scan the computer with Windows 10’s inbuilt malware guard.
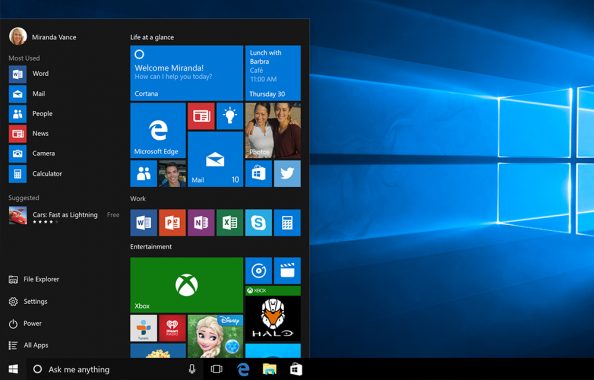
- Click on the start button to open the start menu.

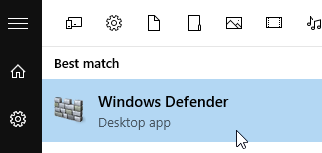
- Search for “Windows Defender,” and click on to open it.
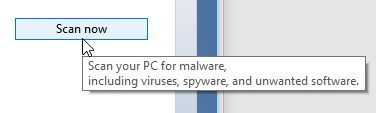
- Select the “Full” to make a full scan.
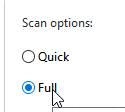
- Click on the “Scan now” button to initiate the scanning process.


Solution 2: Update Windows
Microsoft regularly releases software updates for Windows 10 and the products released by Microsoft through Windows update center. Keeping Windows up-to-date makes sure a good performance and a security.
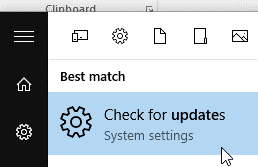
- Click on the start button to open the start menu.

- Search for “Check for updates” to initiate the update process.


Solution 3: Disable Auto-Startup Programs
If an application is registered in the system to be executed automatically when Windows is being logged in, depends on the performance of the system, it might keep the user waiting for a moment. If the system hardware isn’t that powerful enough to handle the workload, the waiting time might be even longer, especially if the number of auto startup applications are quite high. Disabling unnecessary applications from being started automatically at the logging phase can not only reduce the waiting time described above, but also improve the overall system performance.
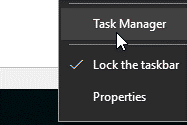
- Right click anywhere on the taskbar.
- Select “task manager” from the opened context menu.

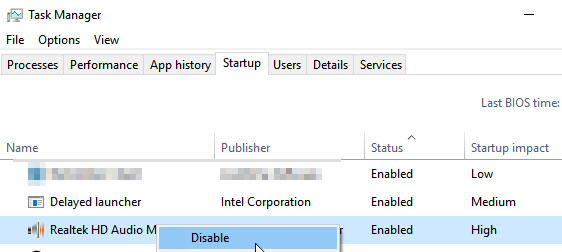
- Click on the “startup impact” to line up the applications in descending order.
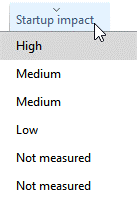
- One by one right click on the applications which have a “High” startup impact, and select “disable” to disable them from being executed automatically when Windows is being logged in.


Solution 4: Turn off Visual Effects in Windows
Unlike the previous versions, Windows 10 utilizes the graphic card to render its graphical user interface, and the “File Explorer”. Therefore, reducing the fancy effects can improve the performance, and the response time of Windows.
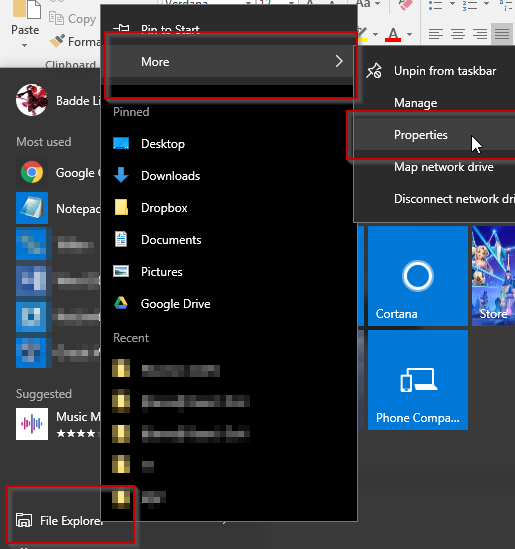
- Click on the start button to open the start menu.
- Right click on “File Explorer”, click on “More”, then click on “Properties”.
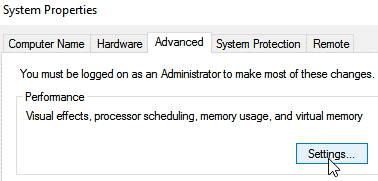
- Click on “Advanced system settings”.

- In the “Advanced” tab, click on “Settings” which is within the “performance” group.
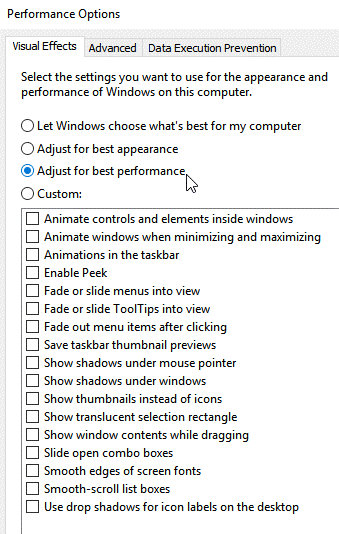
- In the “visual effects” tab. Find the “adjust for best performance”, and check it. Click on okay to save the changes.


Solution 5: Update Windows Drivers
The performance of Windows depends on both how powerful the hardware in the computer is, and how optimized the drivers written for them is. Keeping the drivers up-to-date makes sure the hardware in the system works for their optimum capability.
best for getting the latest drivers with one click
- Download the driver booster from their website.
- Install it, and close the application.
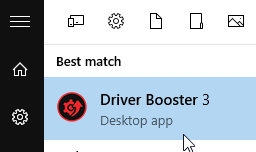
- Click on the start button to open the start menu.
- Search for driver booster.
- Click on the big “Scan” button to initiate the scan.

- Check the “Device Drivers” to select all the outdated drivers.
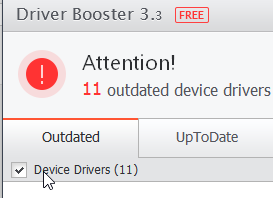
- Click on the “Update Now” button to initiate the update process.


Solution 6: Upgrade System Hardware
Microsoft recommends to have a system with the following hardware components or better to have a best user experience.
- Processor: 1 gigahertz (GHz) or faster
- RAM: 1 gigabyte (GB) (32-bit) or 2 GB (64-bit)
- Free hard disk space: 16 GB
- Graphics card: Microsoft DirectX 9 graphics device with WDDM driver
- A Microsoft account and Internet access
How to Find the Names of Hardware Components Installed in The System?
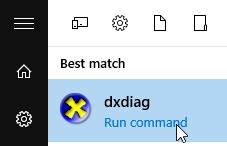
- Click on the start button to open the start menu.
- Search for “dxdiag”, and click on it to open.
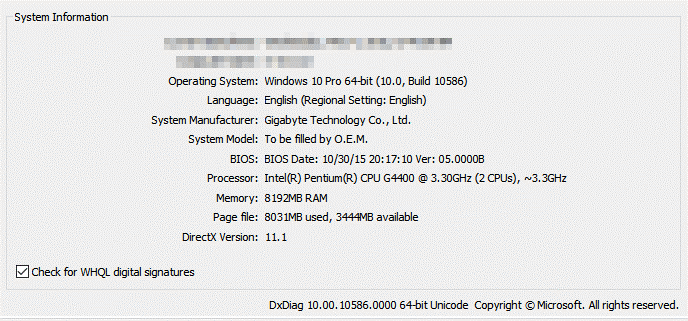
- Switch to the “System” tab which usually shows at start in default.

- Read the contents in the “System Information” group which lists the names of hardware components installed in the system.
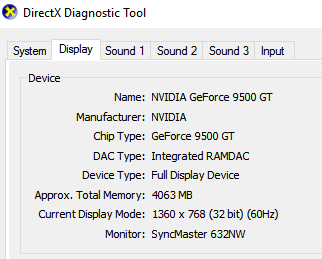
- Switch to the “Display” tab to read the information about the graphic driver.
- If the above hardware components are old enough to handle Windows 10, upgrade them to better components to improve the performance.


How to Find the Compatible Hardware Components So Easily?
Even though the above steps help to find the hardware components of the current system, it doesn’t provide a clue for newbies when picking best hardware components for Windows 10. The following guide teaches how to find the optimum hardware components for Windows 10. Basically, there are two methods for that. The manual way which needs some dig up in Internet, and which is quite suitable for system builders, second buying a branded system which is quite suitable for complete newbies.
Picking a branded system which is compatible with Windows 10
- Visit this website.
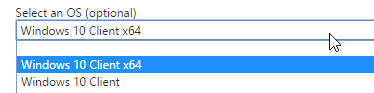
- Select either Client x64 or the one without x64 depends on the architecture you want. It’s strongly recommended to select the x64 one as it supports beyond 4GB system memory.
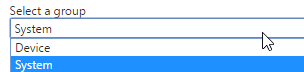
- Select the “System” from the following group.
- Click on the “Search” button to initiate the searching.
- Scroll down and browse the given results to pick a suitable system for your preference.


The Manual Way
What the computer is used for determines the hardware requirements. If the computer is used for basic works, use the following site as a reference when buying compatible hardware components.
https://www.microsoft.com/en-us/windows/windows-10-specifications
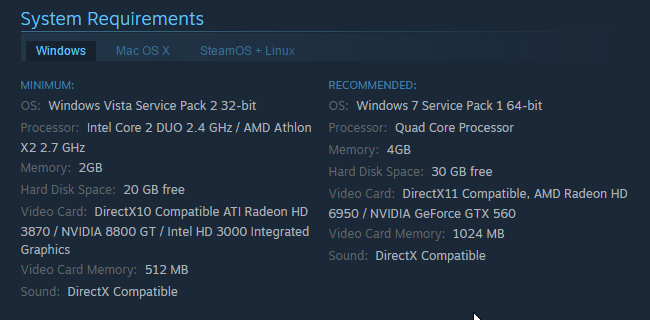
If the computer is used for playing games, check that particular game’s hardware requirements to pick the right parts for the computer. If the game is bought from steam or any other digital market, the hardware requirements are usually mentioned in the site as following. Pick the hardware components mentioned in the “Recommended” section for having the best user experience for that particular game.