

Planning to purchase or already purchased a new iPhone? Now it is the time to set up your device to start using it. No matter you bought the device from the local store or purchased online, you need to connect it to the iTunes. A first sync with the PC/Mac is crucial for setup of the device. In this article, you will know how to set up a new iPhone.
Before starting, install the latest version of the iTunes on your PC or Mac. If your machine already has iTunes installed, just update it to the latest version. The Older version of the software causes incompatible issues while connecting the device to iTunes.
Turn On The Device
After Unboxing, turn on the device by holding the sleep/power button for few seconds. After powering on swipe the slider to the right to proceed to next step.
Language and Region Settings
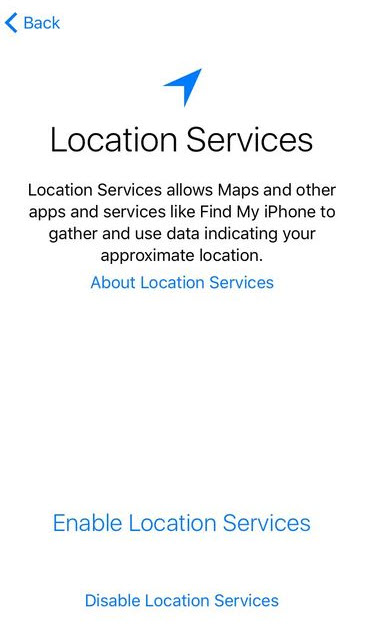
In the first run, here you have to enter some information related to the location details. In the next screens chose your desired language and country details. These are helpful to setup your iPhone according to your regional settings.

WIFi Settings
In the next step, you need to connect your device to the available WiFi connection. Here you can log in to your available network if you don’t have any network available you can skip the step. You can also skip this step by connecting your iPhone to a PC or Mac.
If you connected your device to WiFi, this would be helpful for activating your iPhone. Once you have connected to the WiFi, your phone will attempt to activate itself.
If you already installed the SIM card, it will show the SIM number. If the SIM is not installed contact Apple customer care at 1-800-MY-IPHONE.
Now, enter the billing zip code and agree to the Terms & Conditions of the Apple to finish.
Security Features Setup
Now it is the time to add security features on your device. These are optional services, but nowadays security became more important, and I always recommend to enable security features.
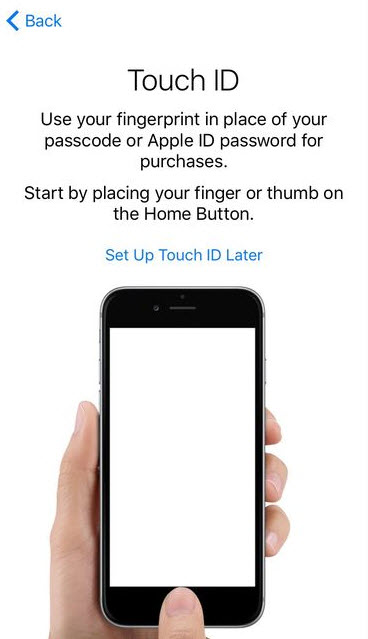

Passcode feature is available for older devices like iPhone 4, 4S 5. The touch ID feature is launched with iPhone 5S and above models. To enable touch ID go to Settings->General->Touch ID & Passcode->Fingerprints->add a Fingerprint.
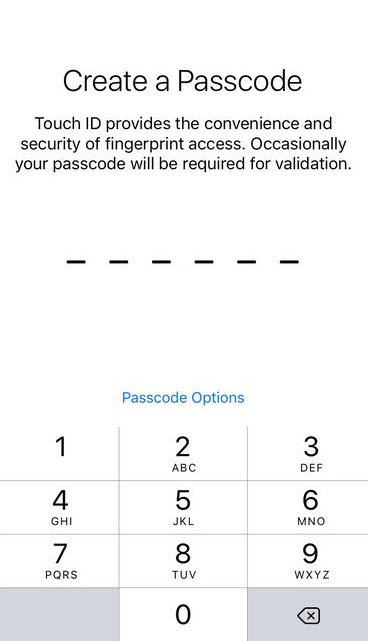

If you have an old iPhone, you enable passcode for extra security. To enable passcode go to Settings->General->Touch ID & Passcode->->Turn Passcode on.
Here enter a 6-digit passcode (for iOS 10) or 4-digit passcode(for iOS 8 or earlier) devices.

iPhone Setup
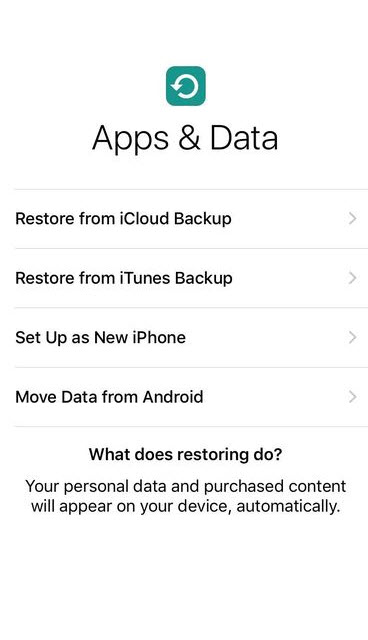
In this step, you have to set up your iPhone for the first run. Here you have four options to proceed.
Setup As New iPhone
If you haven’t had any smartphone or iPhone earlier, or you don’t want any backup restore from your older iPhone or any other device you can choose this option. It means you are using this device from scratch and not using any data restore option.
Restore from iCloud Backup
If you are an existing user of iPhone or any other iOS device and want to transfer your data to the latest iPhone, you can use this step. In this step, you can restore your old device data like data, apps and other settings from the iCloud. To use this step you need to take a backup on your old device using iCloud.
Restore from iTunes Backup
To use this step you need to make a complete backup of your old device using iTunes. iTunes is a comprehensive solution to make device backups with one click. Connect the latest iPhone to your PC or Mac, connect to iTunes and click or restore option. Now the device is sync with an existing backup present on your machine.
Restore from an Android Backup
If it is your first iPhone after Android usage, you can restore your Android data to the iPhone. But this step isn’t easy as it seems. Both platforms are different and work with their own conditions. However, there are some programs available for migrating data from Android to iOS.
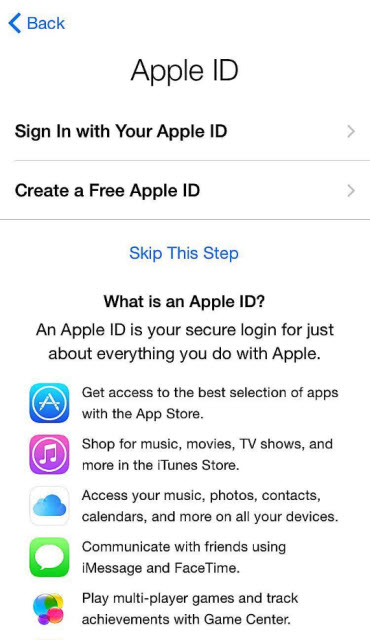

Create or Enter Apple ID
Based on your previous step, you may be asked to log in with an Apple ID. If you haven’t had Apple ID, you have to create one to proceed. An Apple ID is a must for every iPhone user, to access Apple-exclusive features like iCloud, iMessages, Apple Store and much more.
If you have an Apple ID already used with a previous Apple devices, you can use this to login. If not, create a one for you on the iPhone itself or use Apple website.
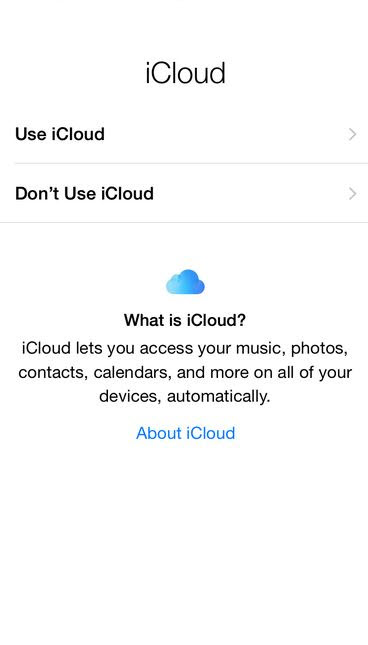

Enable iCloud
After entering Apple ID now, it is the time to enable iCloud on your device. It is a free cloud-based service with a ton of additional features. Using iCloud, you can restore purchases from iTunes, find my iPhone feature, to save your picture in photo library and to access saved documents. After entering Apple ID on your device, the iCloud will be enabled on your device.
To enable iCloud Drive in iOS 8 or higher. iCloud Drive is Apple cloud solution for saving your data in the cloud. It lets you upload files, and also syncs files across the devices with same Apple ID.
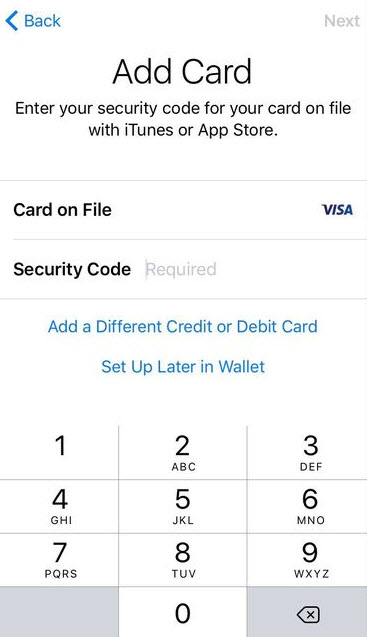

Set Up Steps for Apple Pay
Apple Pay is a payment system from Apple. To encourage cashless payments Apple introduced native Apple Pay app. For the security purpose, Apple Pay works with iPhone 5S or later with NFC or Touch ID support.
To set up Apple Pay it depends on the previous step used. If you restored a backup from iCloud and already an existing user of the Apple Pay, you can proceed to last step below
- First, tap on the Next button on the introductory screen.
- Here, add the last 3 digits of the Credit Card.
- Now, accept the Apple Pay Terms and Conditions.
- Now you have to verify the card in the last step. The verification process depends on your bank verification process.
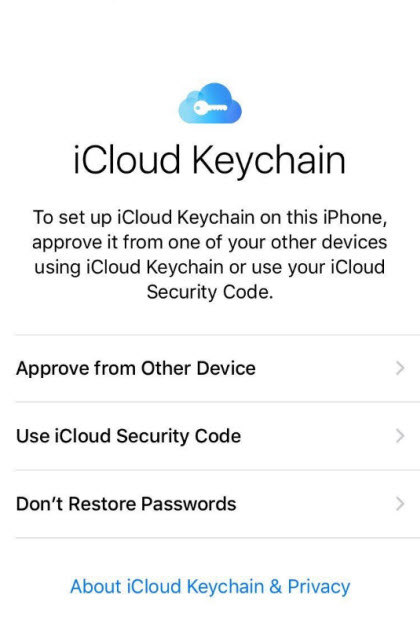

Enable iCloud Keychain
This step is visible only for those who used Keychain on older iOS devices. iCloud Keychain is helpful to share login passwords and other related information across your iOS devices. You don’t need to log in a website by entering a password, Keychain automatically login to the account by filling the login details. It works like LastPass for remembering passwords and other sensitive data.
To enable iCloud Keychain, you have first to validate the account using active Internet connection. You can do this by entering the iCloud Security Code or by approving it by other devices.
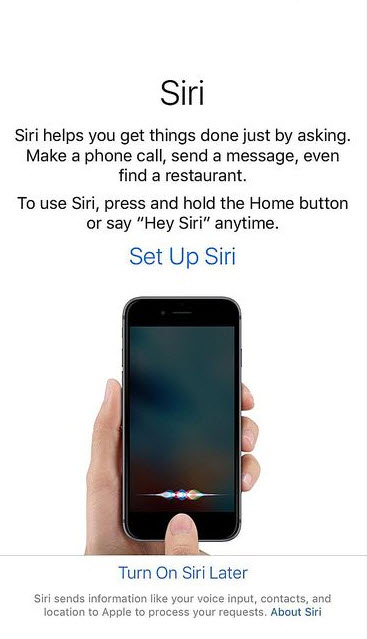

Enable Siri
Apple integrated Siri to all iOS and Mac devices. It is a virtual assistant for getting things done. Ask any query or give commands for tasks like knowing a search query in Google, to know the weather details and sending emails. To enable Siri first time on your brand new device go to Settings->tap on Siri->Tap access on the lock screen to allow access to Siri without unlocking the device.
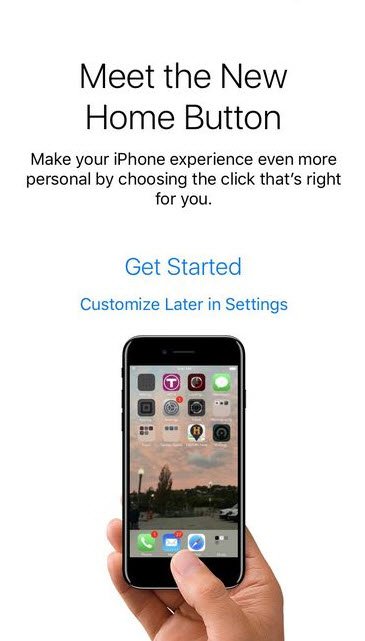

Configure the New Home Button
The new Home button configuration option is only available for iPhone 7 series. If you are having iPhone 6S or below devices you can skip this option.
The iPhone 7 series home button is not a regular home button. Apple introduced new touch and pressure sensitive button for more productive options. It is a single button with 3D Touch feature which detects the pressure of your finger press.
In iOS 10 you can configure the home button, in the setup screen you need to tap on the home button, it shows 3 types of touch options, each option has different levels of sensitivity. When you find the level of your home button touches sensitivity tap on Next to continue.


Finishing The iPhone Activation
After completing all the above steps now your latest iPhone is completed the activation successfully. Now it is the time to get start using the device. We soon come up with more iPhone related helpful guides.
Transfer data directly from old iPhone to the new
Please feel free to share your views and comments below.