


During late 1990’s, we were afraid of BIOS because it constantly crashes. When we purchased a PC during that time, the BIOS crashed after the installation of a gaming software. Nowadays, the rate of BIOS crashes is low due to sturdy hardware and software.
BIOS stands for Basic Input-Output System and is embedded on a motherboard. When you boot your PC, BIOS will load well ahead of operating system. The peripherals like CD drives, Mouse, Keyboard, Web Camera will load after the BIOS start. In this article, we will examine the steps required to update your BIOS.
Step 1
Firstly, you need to locate your BIOS version by opening the System Information app in Windows. You have to enter msinfo32 into the search bar for Windows Vista and Windows 7. Select System Summary. You will view the BIOS version below the processor speed. You have to note the version number and date.
Step 2
You have to determine from where you purchased the system. If the system is manufactured by Dell, HP, or Lenovo, you should navigate to the support page and locate for Drivers a Downloads option. You have to carefully see for the option. For instance, if your system is Dell Inspiron, you have to locate the BIOS for the specific model number. You will find thousands of model numbers. You have to download the BIOS update specific to your laptop. You should also go through the readme files and documentation. If you have any doubts, you can ask the technical support either via live chat or dialling the toll-free number.
Step 3 – Backup your BIOS
Your mantra should be Backup. Before proceeding to install the updated BIOS, you should perform a complete backup of your existing BIOS. If you double click the BIOS update file, you will be prompted to Save the current BIOS setup. You have to complete the steps and then install the new BIOS.
Step 4 – Charge your system
When you are performing a BIOS update process, power should be available. If you are using a laptop, you should charge your battery completely. If you are using a desktop computer, you should connect your PC to a reliable UPS.
Step 5
You can now execute the BIOS update file. It will take few minutes for the process to complete depending upon
Step 6
After the installation process is completed, you have to restart the computer. In all probability, the system will automatically restart. However, you should wait until the system reboots itself.
Step 7
You should clear existing BIOS settings. Even though it is not required, you should do it if prompted. You can do it by pressing Delete key within the first 20 seconds.
Step 8
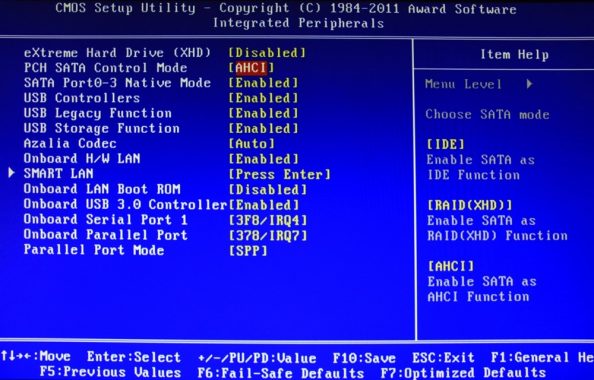
As a final step, you should configure the BIOS. If you are a beginner, it is advisable to leave the settings as such. You should modify the BIOS settings only if you are an experienced user.
Conclusion
As you can see, the BIOS refresh is a simple process for experienced users. The BIOS is critical for the proper functioning of the computer and hence you should keep it protected against unwanted viruses.