


You may face several situations where you need the access to hidden files in your computer. The system itself protects some important files by hiding them in various parts of the computer to keep them safe from accidental deletions or misplacement. So, the computer blocks the users from accessing the hidden files. Hidden files can’t be accessed without changing the settings to make them visible. This can be done in any of the popular operating systems like Windows or Mac. Today we are discussing how to show hidden files and folders in windows and mac operating systems. So, let’s look into the steps.
How to Show Hidden Files and Folders in Windows
The steps to show hidden files and folders in all windows versions are almost similar. If you are familiar with the basic windows operations, you can easily find it out. Follow the simple steps given below to show hidden files in your windows OS.
- Open the Start menu according to your windows version.
- Then type “Folder Options” in the search box.
- You will see the folder options link, Click on it.
- Or, you can go to Control Panel > Appearance and Personalization > Folder Options.
- Once on the Folder options window, Click the View tab.
- Scroll down to the Advanced settings, click Show hidden files, folders, and drives option.
- Then, click OK.
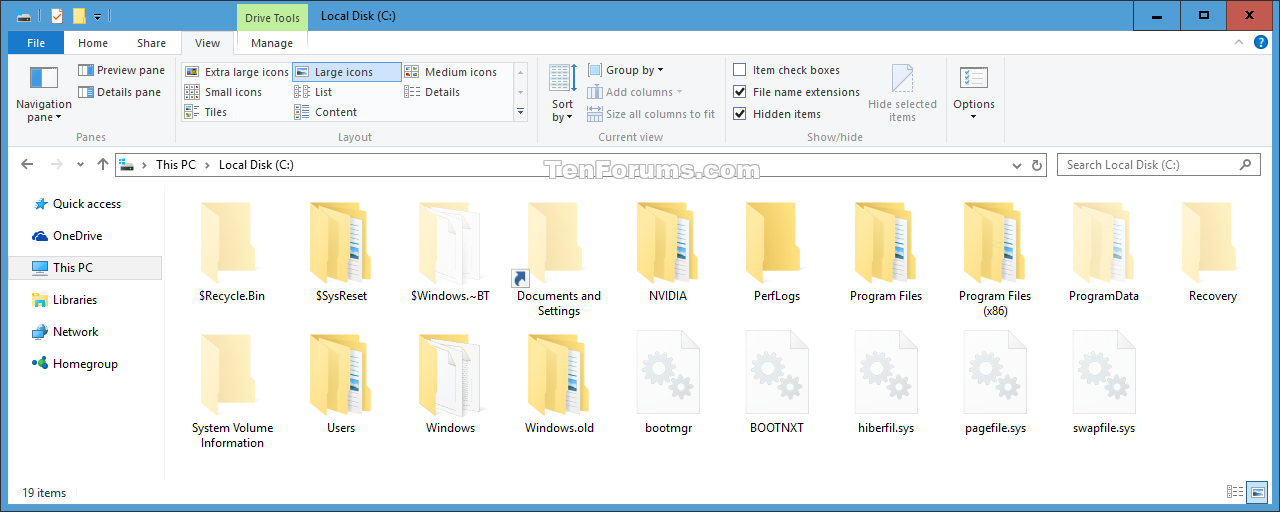
- Now, the hidden folders will be shown in you computer folders as you can see below.

If you are a Windows 8, 8.1 or 10 user. You can follow the steps above or you have a very easy method to do. Go to any folder window or my computer window. Then, click on the down arrow at the top right corner of the window. Then Navigate to the View tab. Then, just check the Hidden Items check box. Now, you will see the hidden items.
How to Show Hidden Files and Folders in Mac
To make the hidden files visible in Mac, There are some simple steps to follow. Different versions of mac have a little difference in the steps to follow. Apart from the windows OS, the mac has a little easier process. To show the hidden files and folders in mac Launch the Terminal found in /Applications/Utilities and enter these commands exactly as shown below according to your Mac version.
How to show hidden files and folders in OS X El Capitan 10.11, Yosemite 10.10, and OS X Mavericks 10.9
Type the following command in the command line and hit enter.
defaults write com.apple.finder AppleShowAllFiles TRUE;killall Finder
How to show hidden files and folders in OS X 10.8 Mountain Lion, 10.7 Lion, 10.6 Snow Leopard
Type the following command in the command line and hit enter.
defaults write com.apple.Finder AppleShowAllFiles TRUE
If you can’t still find the hidden files, you must restart the finder by entering the following command in the command line. Then hit enter.
killall Finder
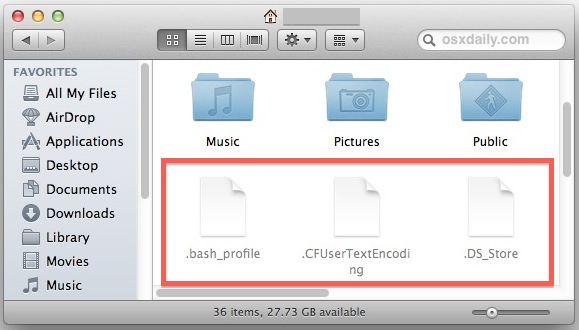

Now, all your hidden files will be visible in your folders as you can see on the above picture. This will change the settings to show the hidden files permanently in your Mac. If you don’t want to enable this setting permanently and if you want it barely, you can just go to the folder where you want to access the hidden files and press Command – Shift – [period]. This will show you all hidden files in the current folder. If you want to make them hidden again. Press Command – Shift – [period] again. This is a quick and easiest way to show or hide the files in your mac. If you left the hidden folders after making it visible, it will remain visible in that folder only till you revert the changes by again pressing the shortcuts listed above.
Finding the hidden files is an easy task to do. But, it recommended making them hidden again if they are some system files. Any accidental deletions of these files may affect your system very badly. So, be careful when tweaking settings.
Hope you enjoyed this article. If you faced any problems during the process, or if you have anything to share with us. Please feel free to comment on the following comment area. We are always happy to see your finger marks there.