

How to take screenshot on Mac
Taking Screenshot of the Mac screen won’t be familiar to you if you are new to Apple products. So, we are sharing some of the methods to take screenshots or snapshots on mac. Follow the simple steps given below to do this effectively. There are several ways available to take a screenshot on Mac. These…


Taking Screenshot of the Mac screen won’t be familiar to you if you are new to Apple products. So, we are sharing some of the methods to take screenshots or snapshots on mac. Follow the simple steps given below to do this effectively.
There are several ways available to take a screenshot on Mac. These methods involve some shortcuts and as well as some third-party tools help.
How to take screenshots of the entire Mac screen
If you want to take the screenshot of the complete mac screen, you just have to follow the simple steps given below.
- Open the windows or screens that you want to take the screenshot of.
- Then, press Command+Shift+3 together.
- Now, you’ll hear a camera click sound, and your screenshot will be created on your desktop.
- The file will be in PNG format, with the title Screen Shot [Date+Time].
- Now you can use that mac screenshot anywhere you want.
How to take a screenshot of a custom area of your Mac screen
If you want to take the screenshot of a specific or selected area of the mac, the following steps will help you.
- Open the window or screen that you want to take the screenshot of.
- Then, press Command+Shift+4 keys together.
- Now, a cross-hair cursor will be displayed. Click and hold it all the way long you wanted to capture the screenshot.
- After selecting all the way you wanted to capture, withdraw your finger from the mouse.
- Now, you’ll hear a camera click sound, and your screenshot will be created on your desktop.
- The file will be in PNG format, with the title Screen Shot [Date+Time].
- Now you can use that Mac screenshot anywhere you want.
How to take a screenshot of a specific window on your Mac screen
If you want to take the screenshot of a specific window in mac, follow the simple steps given below.
- Open the window that you want to take a screenshot.
- Press Command+Shift+4 keys altogether.
- Now, the cursor will turn into crosshairs.
- Press the Spacebar and you can see the cursor will turn into a camera.
- Move the camera cursor on top of the window you want to snapshot.
- It will highlight that window.
- After placing the cursor over the correct window, Click to take the screenshot.
- Now, you’ll hear a camera click sound, and your screenshot will be created on your desktop.
- The file will be in PNG format, with the title Screen Shot [Date+Time].
- Now you can use that Mac OSx screenshot.
If you want to take a screenshot of a specific dropdown menu in mac OSx, you can use this method as only the menu will be captured. This will work on any mac devices including, Macbook, Macbook Pro, Macbook Retina, Mac Mini, Macbook Air, iMac, etc…
How to screenshot directly to the Mac Clipboard
Once you wanted to take screenshots directly to the Mac clipboard, the following steps will help you.
- Set up the screen as you wanted to screengrab Mac.
- Then, press Command+Shift+Control+3 keys.
- This will screenshot the whole screen to your Mac OSx Clipboard.
- Or press Command+Shift+Control+4 keys to screenshot a specific area or section, or press Spacebar afterward to screenshot a specific window in mac, to your Clipboard.
- Now, you can paste the image wherever an image can be placed by pressing Control+v. You can also paste it by choosing Paste from the context menu.
Now, we think you got the answer to all your questions like:
- How to screenshot on Mac.
- How to take a screenshot in MacBook pro.
- How to take a screenshot on a mac laptop.
- How to take a screenshot in mac mini.
- How to take a screenshot in mac safari.
- How to screen print mac.
We will be sharing the method to take a screenshot in a mac with windows keyboard in the coming days. So, don’t worry if you are using a windows keyboard instead of the regular Mac keyboard. Stay tuned.
More in Mac
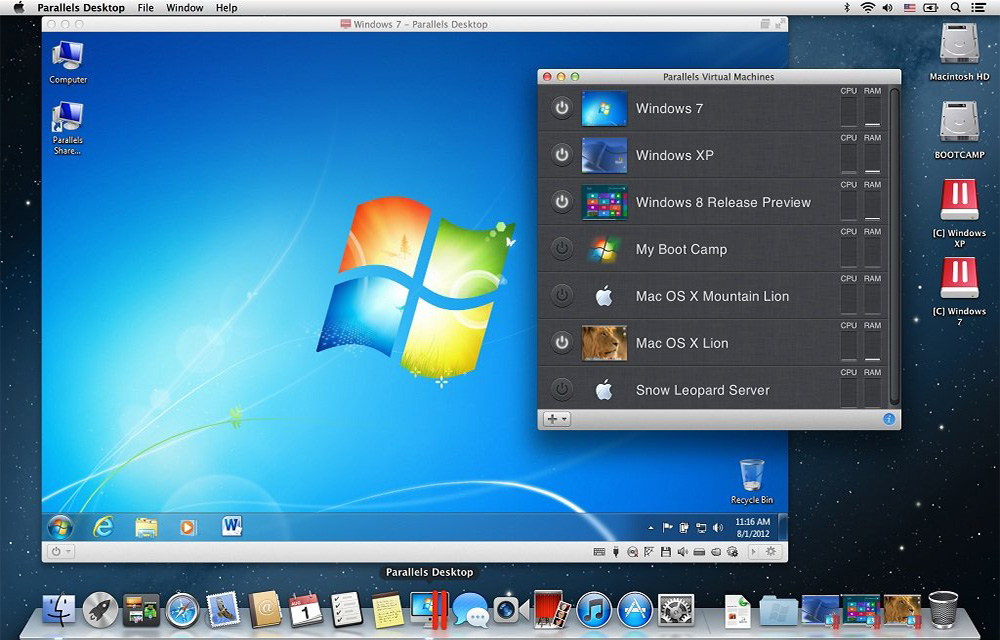
Parallels Desktop for Mac Review: Run Windows on Mac
Parallels Desktop is a Mac application that allows virtualizing the Windows OS on any Mac. Like the VirtualBox for Windows, the Parallels Desktop also is a virtualization software where you could install the Windows or its applications seamlessly. It supports almost any Windows applications to run on your Mac. You don’t have reboot the Mac…
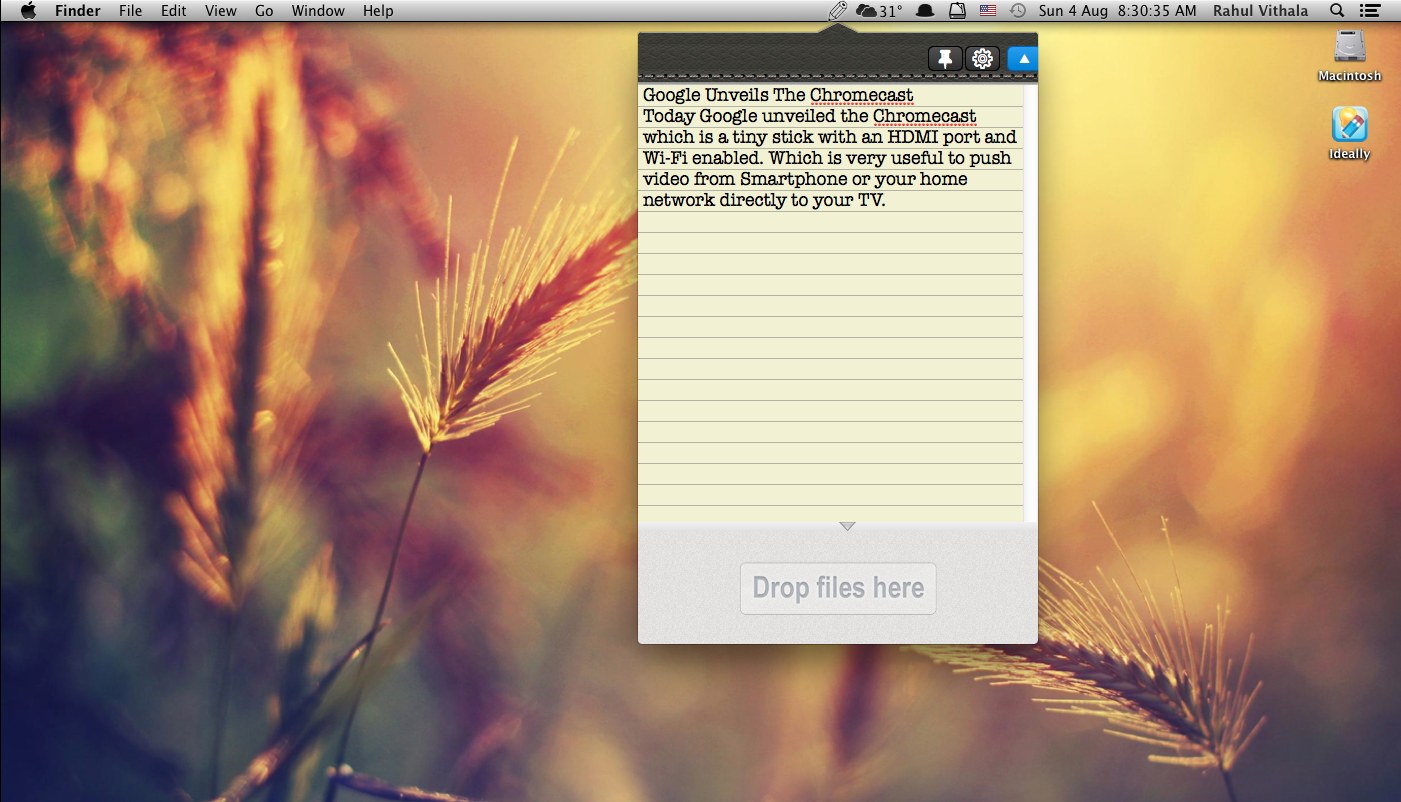
Quickly Take Note In Mac And Sync In Dropbox With Ideally
With a number of note-taking apps available in the App store, it is quite difficult to pick a good one. Ideally is a brand new app for quick note-taking on Mac. It also lets you upload files along with notes in Dropbox, you can backup and restore from Dropbox whenever you want. Not only note-taking…

MacKeeper – An App to Master All the Apps for your Mac
Do you have a Mac that takes like eons to start? Is your Mac infected with viruses and your best efforts and software can’t do anything about it? Are you worried about your expensive Mac getting stolen? These are common issues with Mac owners. But you don’t have to live with them. You can simply…
The week in tech, minus the noise.
New reviews, fixes and the stories that matter — once a week, straight to your inbox.
We only use your email to send the newsletter. Unsubscribe any time. See our privacy policy.
Comments