


iPhone is great, it is one of the best devices in terms of quality, it has some unique functions, and everything is perfect. But, then there is Android, which has more features, extremely flexible, various brands to choose from, and a ton of apps to accomplish almost anything that you can do with a smartphone. So, I wouldn’t ask the question, “why are you switching from an iPhone to an Android smartphone.”
But, before you do that, you have a lot of things to take care of. For example, you cannot afford to lose all your contacts, your favorite music files, the memorable photos, and a lot of things like that, which are currently located on your iPhone. So, switching your device is not as easy as throwing the iPhone to the basket and grabbing a new Android device. In this guide, that is what we are going to look into. How to transfer almost everything on your iPhone to the Android smartphone that you are going to use.
So, without further due, let’s dive into the steps to transfer the different types of files, contacts, your calendars, etc. I recommend to backup all of your files using the iCloud or any other backup methods. In case you change your mind and decide to come back to your old iPhone, if you have a backup, it would be so much easier than transferring them back to your iPhone.
Why Android?
I don’t think you will need an answer to this question anymore because you already decided to switch to an Android device. However, if you are still looking for some reasons to satisfy yourself that you are making the right decision, here are a few reasons why should you go for an Android device over an iPhone.
- Android Devices are much cheaper
- You can install custom ROMs on Android phones
- Tons of apps and games which are several times better in number than the iOS app store
- Everything is integrated and synced with Google and you can manage all of them in a single device
- You can customize the look and feel of your device utilizing the extreme flexibility
Of course, there are a lot of reasons to stick to the iOS device such as their extremely powerful security features. However, these things I mentioned before can be considered as a few reasons to switch to an Android smartphone.
How to Transfer everything from iPhone to Android
So, it is the time to transfer your files, contacts, and everything else that you need on your iPhone to the new Android device. Here is how to do it.
Transfer contacts
There are many ways to transfer your contacts from iPhone to Android. Here we listed some of the most effective methods out of them.
1. Using your Google Sync

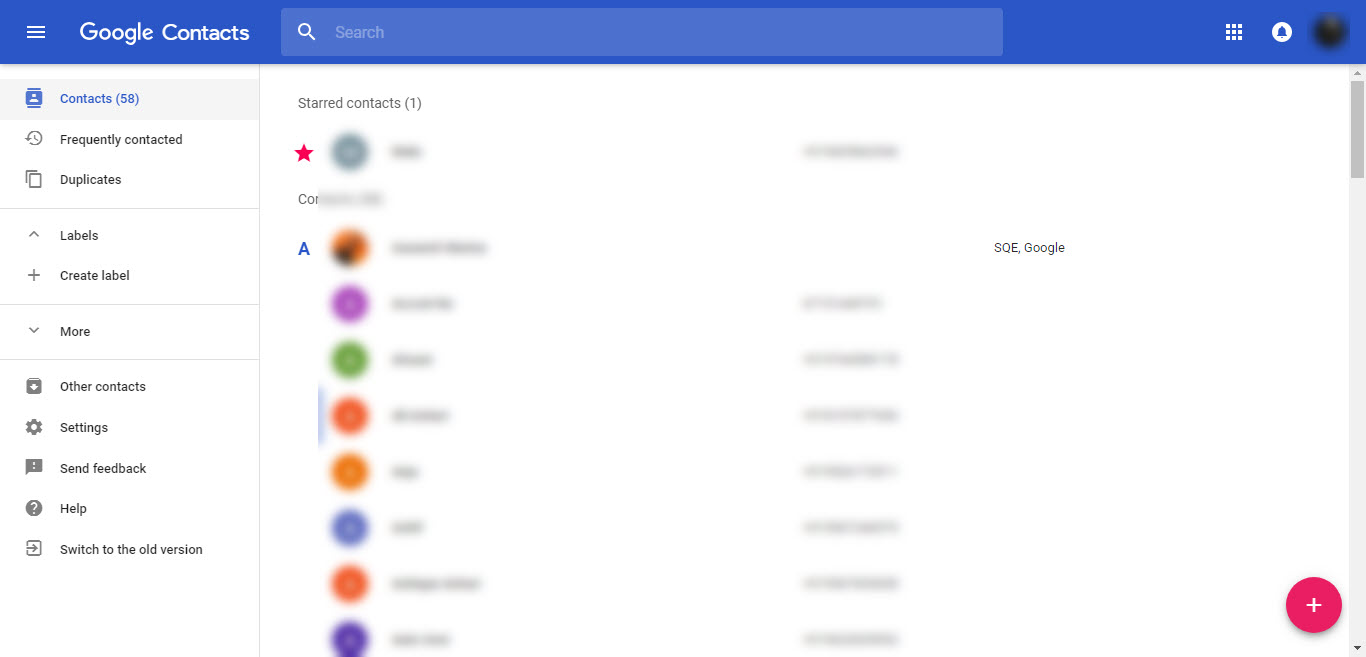
When you sign in with a Google account on your device, Google automatically syncs all your contacts to your Google account. Which means, whenever you sign in with that account on another device, you will be able to access all your contacts without any extra actions. So, if you already have the Google sync enabled, you will not have to transfer any of your contacts manually. You can check your contacts on your Google account by following this link. If you didn’t turn it on yet, you could turn on the Google sync to sync contacts to your google account.
2. Using iCloud
If you do not want to follow the above method, there is an alternate solution using your iCloud account to export a .vcf file and manually import it to your Android device. Here are the steps.
- On your iPhone, just go to your Settings app.
- Select “Mail, Contacts, Calendars” option.
- In that screen, go to Settings > iCloud
- Turn on the “Contacts” option.
- As soon as you enable this option the contacts on your iPhone will get uploaded to the to Apple’s cloud services.
- Now, open any browser and visit iCloud.com.
- Log in to your iCloud account with your Apple ID and password.
- On your iCloud account, select “Contacts” option and click on the gear icon in the lower-left corner.
- Now, click on “Select all” option.
- Click on the gear again and select “Export vCard…”. This will generate a .vcf file of your contacts which you could either directly import to your iPhone or to your Google contacts.
- If you are going to import it to the Google Contacts (which we recommend), visit https://contacts.google.com > click on the “Import” button > “Go to old contacts” > click on the “More” button > select “Import”. Now, just browse the .vcf file that you just exported from the iCloud. Your contacts will be imported into your Google account shortly. You can now just sign into the new device and your contacts will be automatically synced on your Android device.
- If you want to import the .vcf file directly to your Android device, transfer the downloaded file to anywhere on your smartphone using any methods such as USB OTG, Xender, Bluetooth, etc. After copying the file to the Android device, open the Phone app (contacts app) on your Android > Tap on the menu button > Look fo an option to “Import/export”. Now, select the .vcf file and import your contacts.
3. Using iTunes
iTunes is another method to transfer your iPhone contacts to an Android smartphone. Follow these steps to accomplish your contact transfer using iTunes.
- Connect your iPhone to the computer.
- Open iTunes on your computer.
- Click on the “iPhone” in the upper right-hand corner of the screen to get into the device screen.
- Open the Info tab and check the box next to the “Sync Contacts with” option.
- Now, here choose “Google Contacts.”
- Input the Google account information. Now your contacts will be synced with your Google account.
- Now, as soon as you use the same Google account to log in to your Android device, your synced contacts will be visible.
Transfer Photos
Now it is the time to transfer your memorable photos to the new Android smartphone. Just like the contacts, there are a couple of methods to do it. We listed them down. So, follow them in the same order and only advance to the later methods if you cannot do the before ones.
Using Google Photos
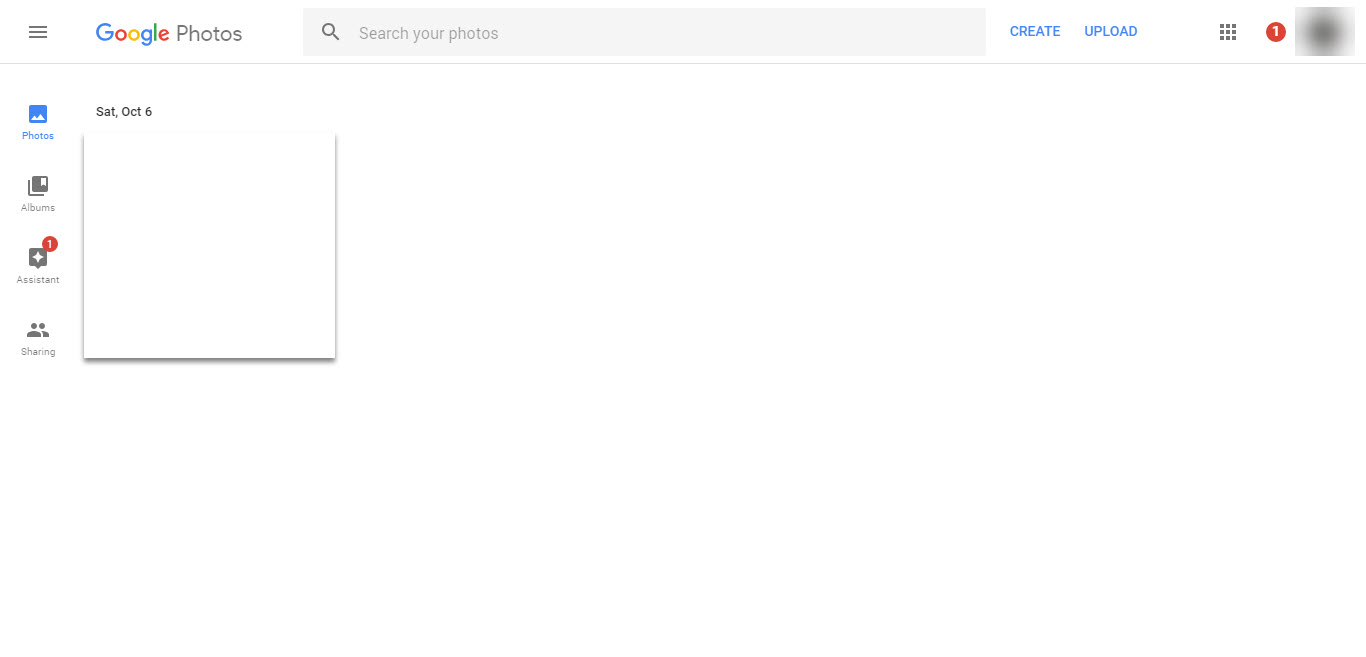
Google is an all-in-one tool when it comes to storing your files on the cloud and sharing them across your devices. Google can store your photos for you and let you access them from any device with the same email account. Here is how to transfer your photos using Google Photos.
- Download iOS Google Photos app on your iPhone.
- When you set up the app on your iPhone, it will ask if you want to back up your photos.
- Turn on that features. Your photos will start getting uploaded to the Google Photos within no time.
- That’s it, now, you can download the same Google Photos app for Android.
- Setup the app on your Android device and download all the photos from your Google Photos account.
Manually Transfer Photos
If you do not have a faster internet connection or enough data to use, or you simply don’t want to upload your photos to the cloud, you can manually transfer them to your device. To do that, follow these steps.
- Connect both your iPhone and Android device to your computer.
- On your Windows PC, open “My Computer or This PC based on your Windows version”.
- You will be able to see your devices listed on this screen. Open both of those devices in different windows side by side.
- On your iPhone, locate a folder named “DCIM” where all your photos are stored.
- Now simply copy-paste or drag and drop the required image files from that folder to your Android device.
- That’s it, your photos are transferred as soon as the copy process completes.
Transfer Music
Like anyone, you might also have a lot of favorite music files stored in your Apple device. And you do not want to lose them. If so, you can follow the below methods to transfer music files from iPhone to Android.
Using Google Music Manager

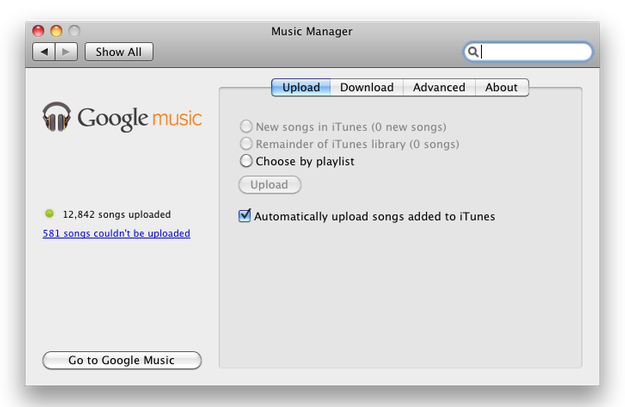
Here comes the help of Google again. There is an app called Google Music Manager that can upload your music files to Google Play Music and enjoy them across your devices. In order to do that, follow these steps.
- Download Google Music Manager to your PC (it may ask you few questions if you are doing it the first time.)
- Install and run Google Music Manager on your PC.
- When you set up the software, you will be given an option named “Upload songs to Google Play”.
- Select “iTunes” as the method and follow the setup process to upload your iTunes music to Google Play.
- That’s it, let the program upload all your favorite music files on your iTunes to the Google Play Music which you can access later on your Android device.
Transfer Calendar
If you are a businessman or have a lot of notes stored in your calendar, you probably want to transfer your calendar to the Android. Here are the steps to transfer your Calander from iPhone to Android.
Using Google Calendar
Google Calendar lets you import the calendar data from your iPhone to your Android smartphone. Here is how to do it.
- Open iPhone’s Settings app.
- Select the “Mail, Contacts, Calendars”.
- Select “Add Account.”
- Log into your iCloud account by providing the details.
- Wait for your iPhone to sync local calendar files to your iCloud account.
- Access iCloud.com using a browser.
- Login to the iCloud account.
- Click the Calendar icon on the screen.
- On the screen, the left pane will have a button namely “Share Calendar” beside the calendar that you want to export to your Android smartphone. Click on it.
- Now a popup will appear. On the popup window, tick “Public Calendar”.
- A URL will be displayed below it. Copy that URL.
- Now, on a new browser tab, paste the copied URL.
- When pasting, make sure to replace “webcal” in the copied URL to “HTTP” and tap enter.
- As soon as you visit that URL, your browser will start to download the calendar file to your device.
- Transfer the downloaded Calendar file to your PC (you can also do it from your iPhone) using a cable and rename it with a .ics extension (e.g: mycalendar.ics).
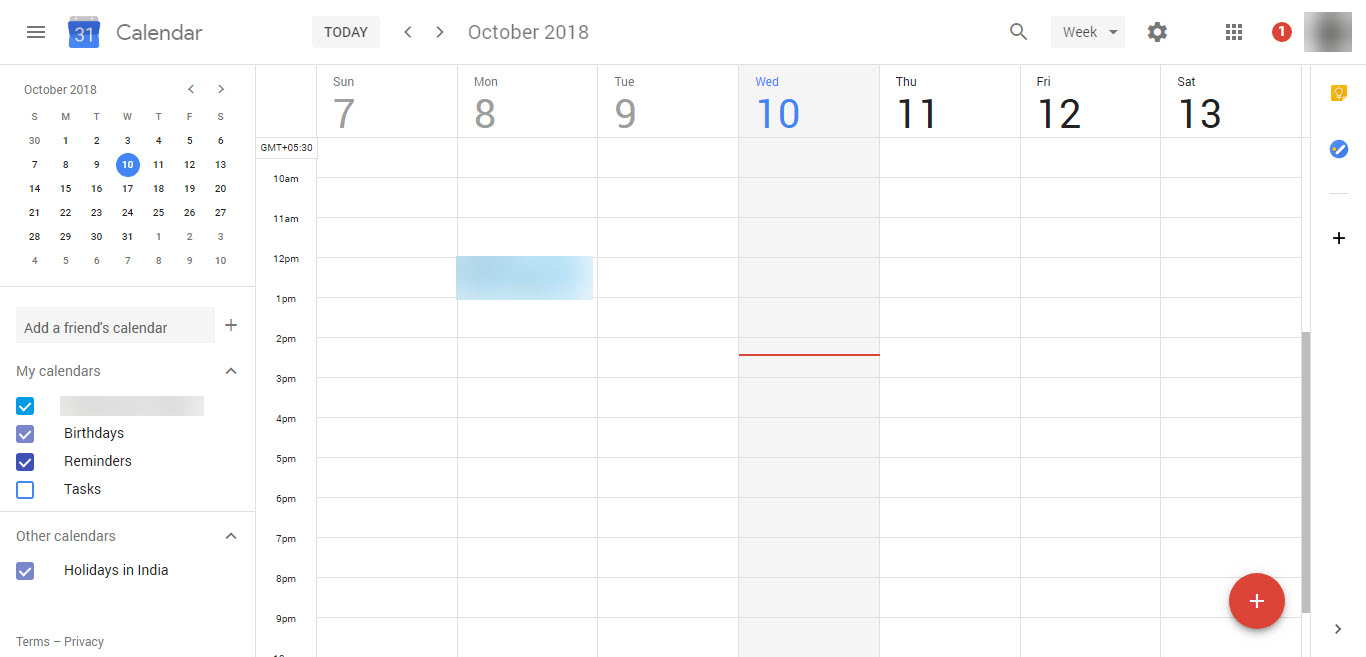
- Log in to Google Calendar on your browser.
- Click the menu arrow at the right side of the “Other Calendars” option in the left pane.
- Now, select the “Import Calendar” option.
- Now browse the exported calendar file. In the process, you can also select the destination in the Google Calendar where you want to import the file.
- Finally, click the “Import” button. The calendar files will be now imported to your Google Calendar account which will be also accessible from the Android device.
Transfer Other Files and Docs
Now coming to other file types such as documents, videos, and almost anything that is supported on the Android can be easily copied by connecting your iPhone to your PC. Then connect your Android device to the PC and transfer the files wherever you want. As soon as you finish the transfer process, the files will be visible on your Android device. Also, transferring the text messages from iPhone to Android can be accomplished quite easily before you switch the device.
Transfer Apps
Unfortunately, iOS and Android are two completely different platforms. Which means, you cannot transfer the apps from iOS to Android. However, most of the popular applications are available on both platforms. For example, if you used WhatsApp on your iPhone, all you have to do is taking a backup of your WhatsApp to their cloud, installing WhatsApp on your Android smartphone, and restoring the chat and contacts from the backup. You can follow the same method for any other application that provides a backup.
If the app uses the local storage to store your files and history, it is doubtful whether you can transfer it to the Android or not. Still, you can Google it for the best possible methods to transfer them over to the Android device that you are going to use.
What else after transferring everything to Android?
Nothing much, but make sure that you have a proper backup of everything on your old device. Even if you don’t need it at the moment, you may need it in the future. So, I strongly recommend you to take a backup of your iPhone via iCloud or something. Also, if you are going to sell your iPhone after switching to the new Android device, make sure that you completely erase all your data before handing it over. So, that’s it, enjoy your new platform.