

Gone are those days when we used to CD or DVD to boot Windows XP and higher OS versions. The latest models of laptops and desktops are not coming with the optical drive enabled. I can literally say, CD and DVD’s are obsolete now at least for installing Operating systems.
For Windows users, there are a ton of programs to make a bootable drive from an ISO image of the OS. Microsoft has its own tool to create bootable USB drive but it has its own set of pros and cons. If you are looking for an error-free bootable media creating tool then use the Rufus. It is a completely free and open-source application and I can say it is the best tool to create a bootable USB drive.
In this article, you will know how to use Rufus to create a bootable USB drive.
Prerequisite
- A Windows PC or laptop.
- ISO Image of the Windows (Any version) or Linux
- USB Drive
- Rufus tool
How To Use Rufus To Create A Bootable USB Drive
- Download the Rufus from the official website and install on your Windows PC or laptop. There is a portable version of Rufus available which doesn’t require installation. You can use any of these two options to run Rufus.
- Now, connect the USB drive to your PC.
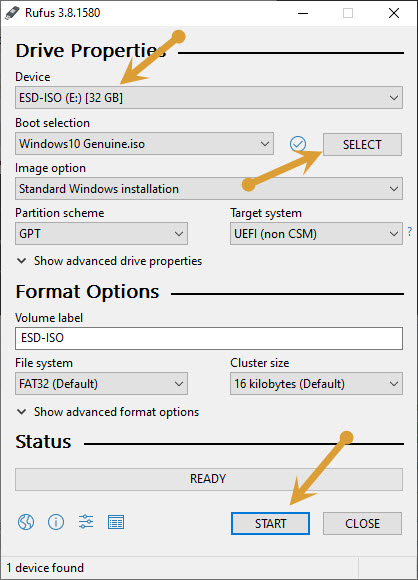
- Open the Rufus and you will see the connected USB drive name.
- Now, click on the “SELECT” button to browse the ISO image you want to use. Here, it opens the Windows explorer and choose the ISO image of your choice and click on open.
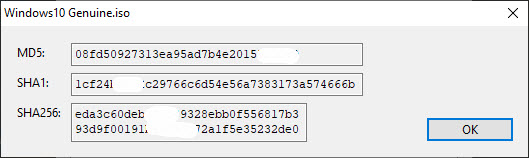
- Additionally, you can select Tick icon next to the select option to check the MD5, SHA1 and SHA256 checksums of the ISO files.
- The further options like Partition scheme and target system are for advanced users. If you want you can use these options to move to modify the bootable drive.
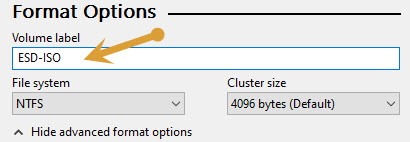
- You can change the USB drive name using the “Volume Label” and under the advanced format options, you can select “Quick Format”.
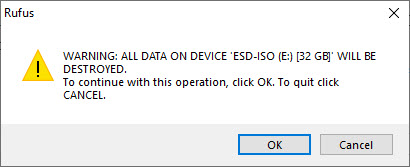
- Once you check all the above options, now it is the time to start making a bootable USB drive by clicking on the “Start”
- After clicking start option, Rufus will notify about the additional files download, or any required files if it wants. For example, for making Ubuntu drive, Rufus needs to download the latest version of Syslinux. Click on the “Yes” button to proceed next.
- On the next step, it will notify you about the image mode option. Here, you can select either “Write in ISO Image mode” and Write in DD image mode. In many cases, the first option is recommended. Choose the option and click on OK to proceed to the next step.
- Now Rufus will start creating bootable USB drive for you. It will take some time depending on the ISO image size and USB drive type.
- Once the process completes, the program will intimate you by a sound and you will see the progress bar completely green colour.


That’s it. Rufus created a bootable USB drive for you. Let us know your valuable feedback in the comment section below.