


Flushing DNS cache can help you get rid of some issues like ‘website not found‘ while browsing the internet. It helps to clear out all the previous DNS records which might be creating issues. If you are able view some web pages but some other web pages showing the error, it might be due to the DNS cache on your computer. Clearing the DNS cache will solve this problem instantly. So, we’ve decided to write an article on How to Flush DNS Cache in Windows to help you get rid of this. Have a look at it.
What is the DNS Cache and How it Causes Problems?
When you visit a website like this one (thetechhacker.com), the browser will identify the DNS server that connects the IP address and the website. The DNS server will resolve the IP address and connects the browser to the website then grabs data from there. Every time you visit any website, Windows automatically stores the DNS address which connects to the IP address so that you will be able to access the website quicker next time. Once some sort of changes happens to the connection and the Windows still using the old cached DNS, you won’t be able to access the data from that website. So, clearing it will fetch the fresh copy of the DNS details and will resolve the issue.
How to Flush DNS Cache in Windows
It is very easy to flush your DNS cache, just follow these simple steps to do so.
- Open Run command box by pressing and holding Windows key and press ‘R’.
- In the Run box, type “ipconfig /flushdns” and press “Enter“.
Now, a command screen will open and close within a matter of seconds. That wasn’t an accident. You just cleared the DNS cache in your windows.
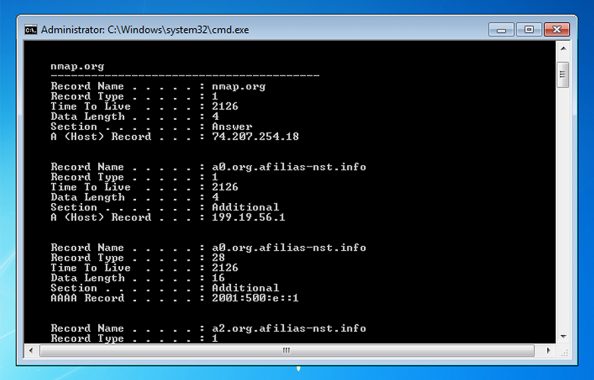
If you want to view the DNS data on your computer currently, you can type “ipconfig /displaydns” in the run box and press enter.