

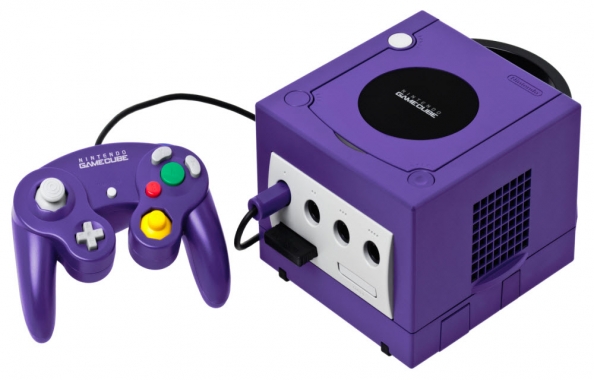
Though the Nintendo GameCube and Wii were discontinued years ago, lots of gamers continue playing these consoles’ immortal classics. While some do it on physical consoles, others download emulators to run their favorite titles on personal computers. If you’re a fan of GameCube and Wii and you own a powerful machine, you may try playing console games with Dolphin Emulator.
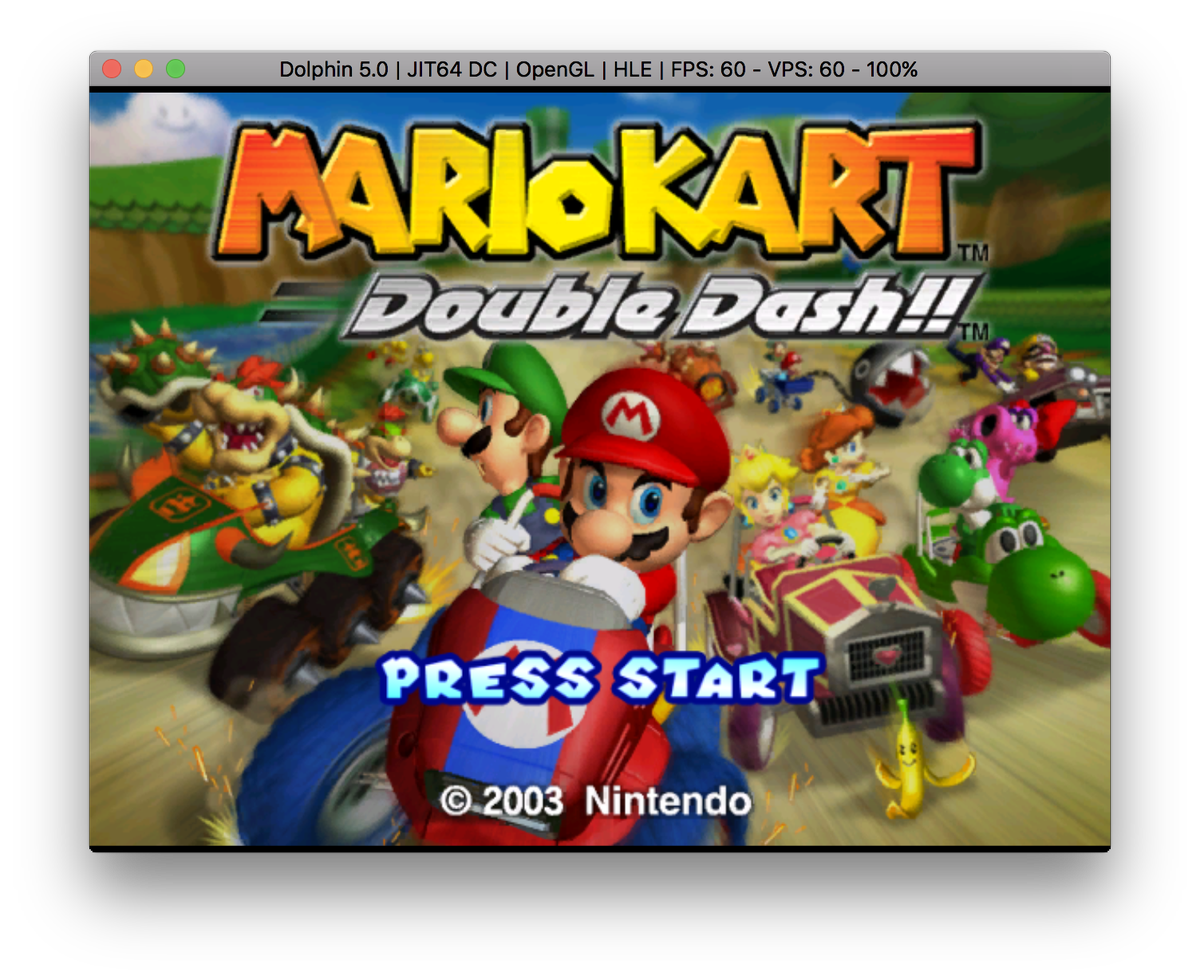
This emulation tool will make your gameplay even more enjoyable since most games look much better on the emulator than they look on the original consoles. Moreover, with Dolphin, you’ll be able to run games at 1080p resolution in fullscreen mode, which is impossible on physical GameCube and Wii.
How to get started?
As has been noted above, all modern computers are capable of running Dolphin Emulator. A standard 3 GHz (or higher) dual-core CPU is quite sufficient for Dolphin. NVIDIA and ATI graphics cards are the best options for the said emulator. Still, if you have an integrated graphics card, don’t get upset. Change some necessary settings and you’ll be able to achieve the best possible speed of emulation (provided your processor is powerful enough).
Though Dolphin is compatible with the most popular operating systems (Mac, Windows, and Linux), we recommend using the Windows 64-bit OS, if possible.
As you know, you cannot play physical discs on the emulator, which means that you’ll need to create a virtual image of your GameCube and Wii games. Find a flash stick or an SD card. Make sure that it has enough space for your ripped games. Then, you’ll need to download a special program called CleanRip from Google. This program will help you make a copy of your GameCube or Wii game disc and subsequently run it on the new emulator. As soon as you decompress the obtained file, make sure to transfer its contents to your flash stick.
Once you copied the folder to your flash stick or SD card, you can connect it to your Wii. Select “CleanRip” option and press the “Start” button.
When prompted, insert your GameCube or Wii disc into the console and proceed with dumping the disc on your USB flash drive.
You’ll need to wait until your disc finishes dumping. When the process is complete, take out your flash stick and connect it to your computer. Now you have games to play on Dolphin Emulator.
Downloading Game ROMs from the Internet

As you see, the process of ripping games is time-consuming and quite tiresome. There is an alternative way of obtaining GameCube and Wii games from the Internet. You can Google for either a specific game you want to play on the emulator or for GameCube/Wii games in general. The web is full with abandonware and retro gaming related websites offering countless ROM files of your favorite console games. We recommend checking out RomsMode, a safe to use online resource distributing high-quality emulation software and ROMs. On this website, you’ll select and download the best games to play on Dolphin.
- You probably know that downloading the ROM files of the games you don’t own is considered illegal. It’s up to you to decide whether or not to download the images of the console games you didn’t purchase. As for the ROMs of the games you own or owned back in the day, you have every right to download them from third-party sources and run them on your emulator.
Playing Game on Dolphin Emulator
Now that you have games to play, go visit the Dolphin Emulator official website and download the emulator to your PC.
Once you unpack the emulator and install it, visit its menu. From the menu, select “Config” and then the “Paths” option. After that locate the folder containing your ripped games or downloaded ROMs. Double-click on the selected game to launch it.
Now you can enjoy playing your favorite old school classics on your PC with Dolphin Emulator!