
Apple owners know the security process of authentication. For unlocking settings in System Preferences, approve new app installations, and unlocking secured files, Mac asks authentication. Now with the latest macOS Catalina and a deadly combination of Apple watch you can approve the security authentications from your Apple watch.
It is a pretty interesting and easy process to give authorization to specific tasks.
To use “Approve with Apple watch” you will need the following.
- Mac running macOS Catalina
- Apple Watch running watchOS 6 or above
- Auto-unlock feature enabled
- Two-factor authentication enabled on your iCloud account.
Enable Auto-Unlock feature
- It is a must to wear the Apple watch in order to enable this feature. If the watch is not on your wrist, Mac will not be able to register the device.
- First set a passcode on your Apple watch. If you don’t have the passcode set, open the Settings app from your Apple Watch app screen and tap on Passcode to set one.
- Now open “System Preferences” on your Mac.
- Click on “Security and Privacy“.

- Here in the “General” tab, enable the option called “Allow your Apple Watch to unlock your Mac.” This will require you to enter your administrator ID and password.
After finishing the above steps, now it is the time to enable two-Factor authentication on your iCloud account.
Enable Two-Factor authentication on iCloud
Here we are using macOS System Preferences to enable the Two-Factor authentication on iCloud.
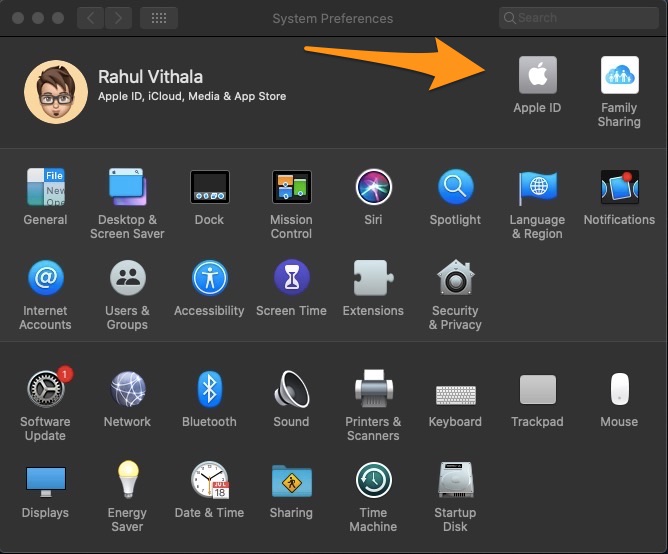
- Open System Preferences and click on Apple ID to access the iCloud account.
- On the left side pane, select “Passwords and Security.

- Here, enable the option for Two-Factor authentication.

Once you enable the required settings as I did above, now your Mac and Apple watch are ready to work with each other.
We found this is the easiest way to approve authentication tasks on your Mac easily from your wrist. Let us know your valuable feedback in the comment box below.