

How to Burn a CD/DVD in Windows 10
From the person who just getting started with a computer to the computer scientist, everyone wants to burn a CD or DVD. Even with the existence of super-computers and 10 terabyte SSDs, CDs and DVDs still being used to store data. Especially if the data is pretty small and important. Compared to other storage media,…

How to Burn a CD or DVD in Windows 10
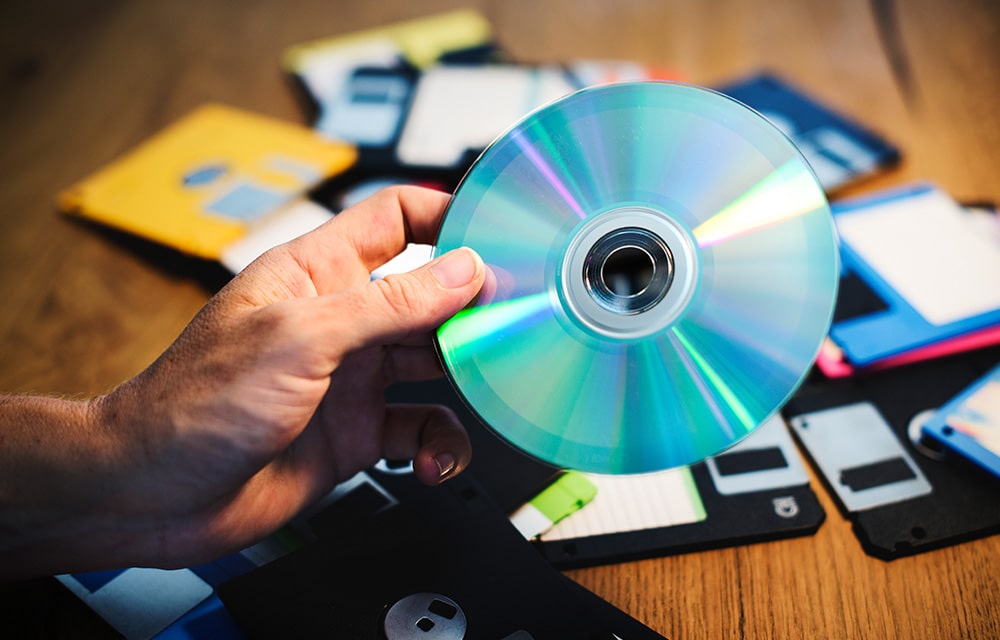
From the person who just getting started with a computer to the computer scientist, everyone wants to burn a CD or DVD. Even with the existence of super-computers and 10 terabyte SSDs, CDs and DVDs still being used to store data. Especially if the data is pretty small and important. Compared to other storage media, they are less prone to damages and data loss given that you do not wreck them accidentally or badly scratch them. So, whatever the reason is, if you decided to burn a CD/DVD on your Windows 10 machine, you can follow this guide.
Steps to burn a CD/DVD in Windows 10
- Insert the CD/DVD into your optical disc drive.
- In the Burn a Disc window, choose your preferred method (look at the following section to decide).
- If you choose the Like a USB flash drive mode, Windows will start preparing the disc for the data to be written to it.
- After the process is completed, all you have to do is simply copy-pasting or drag and drop the files you want to copy to the disc and wait for the process to complete. Also keep in mind that, when you eject the disc, Windows will do some finishing touches to make sure that the files are written properly. So, wait for that.
If you choose With a CD/DVD player option, you have a bit more steps to do.
- In the newly opened window, drag and drop the files you want to burn to the disc under the Files Ready to be Written to the Disc section.
- Once you are done adding the files, navigate to the Drive Tools menu at the top.
- Click on the Finish burning option. It will open a new window.
- Give your disc a name.
- Choose a recording speed. It is better to not change it as Windows will automatically choose an optimal speed.
- Click on the Next button.
- Windows will now start burning the files to the disc. Wait for the process to complete. It might take a while.
- When it is completed, Windows will automatically eject the disc from the optical drive. You can take it out and close the tray.
- Click on the Finish button. That’s it. You have successfully burned the disc.
Burning method
When you insert a CD/DVD into the optical drive for the first time, Windows will automatically ask you which mode you want to use the disc in. There will be two options given.
- Like a USB flash drive: In this mode, you will be able to write, delete, or edit files in your disc just like in a USB flash drive. That means you will have complete control over the files you saved to the disc unlike the typical method of using a disc. But keep in mind that, files written using this method may not be accessible on computers or devices older than Windows XP. You can copy files to the disc selectively or all at once based on your preferences and it will be copied instantly.
- With a CD/DVD player: The typical writing method that will write the files to the disc all at once when you finished adding the files. Discs burned using this method will be more compatible with older versions of the operating systems and devices. In this type, you will have to manually burn the disc whenever you completed selecting the necessary files to be in it and will not act as a USB flash drive.
Even though the Like a USB flash drive mode allows you to delete files, if you are using a CD-R or DVD-R disc only the logical file system will be deleted. The actual space consumed by the files will not be freed. So, make sure that you have a rewritable disc in order to use up the deleted space.
Our recommendation? If you are just going to store some files in it and planning to access them from your own computer whenever needed, go with the Like a USB flash drive mode. If you are planning to make the files in it permanent and want to ensure maximum compatibility with other devices, go with the With a CD/DVD player option.
More in Windows
30 Must Have Basic Windows Software For Every PC User
When you reset, format, refresh or bought new PC you should install new software and there are some important or more precisely some ought to install software’s that every user should use doesn’t matter who he is and what he is doing. These are must-have basic apps for every Personal Computer. These software are necessary…

VSDC Video Editor Is A Free, Simple & Professional Video Editing Tool For Windows
Almost all operating systems offers some basic video editing features. In recent months we have covered various video editing tools for Windows & Mac.

Best Video Conversion Software: Handbrake Review (Windows)
In the era of DVDs, Blu-Ray discs, and high-quality videos, a robust video conversion program becomes essential for transforming videos into formats compatible with handheld devices like smartphones and tablets. Understanding Handbrake: Handbrake stands out as an open-source video encoder compatible with Windows, Mac, and Linux systems. Designed to both rip and convert video files,…
The week in tech, minus the noise.
New reviews, fixes and the stories that matter — once a week, straight to your inbox.
We only use your email to send the newsletter. Unsubscribe any time. See our privacy policy.
Comments