

Ways to Stop the Restart of your Computer After Installing Updates
It is known and really irritating that when we finish installing a new update for our computer or for any other device, we are asked to restart our device in order for any kinds of updates to be finished.

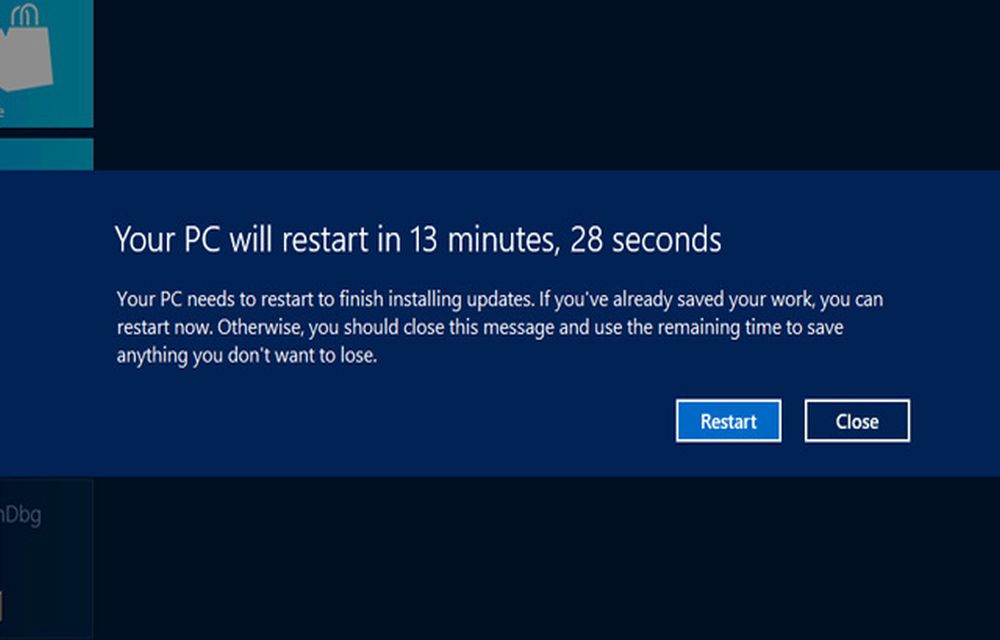
It is known and really irritating that when we finish installing a new update for our computer or for any other device, we are asked to restart our device in order for any kinds of updates to be finished.
It is for sure really irritating, but it is something that must be done, or not? If you do not do it, it is sure that a message will appear on the screen of your device that will say when you want to be informed about the restart, in 10 minutes, 1 or 4 hours.

Many computer users and especially people who use Windows, dislike this feature and they are trying to find ways to disable it. There are ways that you can achieve that especially if you are a businessman who wants to have his computer available 24 hours. There are two ways to do it and the first one requires to stop the Windows Update service for the current session. All you do by using this way is simply the block of the prompt and the stop of any other attempt to install any new updates that might appear until the computer is rebooted.
How To Stop the Restart of your Computer After Installing Updates
In order to use this way, you must
- Open a command prompt window by clicking the “Start” button.
- Enter cmd in the search form and push at the same time Ctrl,Shift and Enter button in order to open it with administrative privileges.
- After that run the command net stop “windows update” to stop the Windows Update and the service for the current session. If you regret it, you can restart the specific service just by running the command net start “windows update” and the service will start running again the next time installing a new update.
The second option is not hard at all and gives you the ability to disable the auto reboot option. The only thing that you need to do is to have registry hacking and it is suggested only for advanced users. It is advisable before you start any kind of changes to backup the registry. The first thing that you need to do is to
- Use Windows+R in order to be able to appear the run box.
- After that enter regedit and push enter and the Windows Registry Editor will be open.
- The next move that you need to make is to navigate to HKEY_LOCAL_MACHINE\SOFTWARE\Microsoft\Windows\CurrentVersion\WindowsUpdate\Auto Update and find the ‘ForcedReboot’ key in order to change its value to “0“. It is really important to always have in your mind that this procedure can be done on Vista, Windows 7 and other new operating systems.
There is also another option that you can use that is the final one that is available in some versions of Windows system.
- Go to Computer Configuration> Administration Templates> Windows Components> Windows Update and after that find the “no auto-restart for scheduled Automatic Updates installations” and the “Re-prompt for restart with scheduled installations.”
- Enable the first one and organize the second one to the period of time that you want.
It is sure that whichever way that you will choose the disable of the restarting of your computer after the installation of updates will be achieved. Follow whichever way that you want and it is sure that you will never regret it.
More in Windows
How to Stop Updates in Windows 10
Most people think that an operating system that is up-to-date is a secure one which is true to an extent. However, there are also many people who do not do a good job at updating their OS. Now, we have Microsoft with Windows 10 which is an operating system that automatically updates to the latest…
How to Fix Memory Integrity Problems After the Windows 11 Update
After installing this month’s Windows 11 update, some people opened Windows Security and found Memory Integrity switched on when they never touched it. Others ran into a warning about an incompatible driver, or a game or older tool that stopped behaving. That’s not a bug. Microsoft is now turning the feature on automatically for supported…
How to Fix Windows Hello Fingerprint Not Working After Reboot on Windows 11
Fingerprint login works great during your session but sometimes fails to recognize after a reboot. The sensor goes silent or Windows says it can’t recognize your print. This happens more than it should, especially after updates. Power management, driver glitches, or Enhanced Sign-In Security (ESS) are usually behind it. Here’s how to get it working…
The week in tech, minus the noise.
New reviews, fixes and the stories that matter — once a week, straight to your inbox.
We only use your email to send the newsletter. Unsubscribe any time. See our privacy policy.
1 comment
Dear Ali, I updated my windows 7 today. It went very well and all updates are installed. After that when it went to restart all I can see a screen with small baloons and some cross lines. I can see my mouse pointer and the pointer moves. Thats all. How do I get back into my windows. Nothing happens. Need HELP!