

How to fix the “We can’t reach this page” error on Microsoft Edge
There are Windows users out there who have been using Microsoft Edge browser. If you are unaware, Microsoft Edge is a refreshed version of the Internet Explorer by Microsoft. The Internet Explorer is a standalone browser developed by Microsoft and bundled along with Windows 10. For users who have privacy concerns, Google Chrome is not…

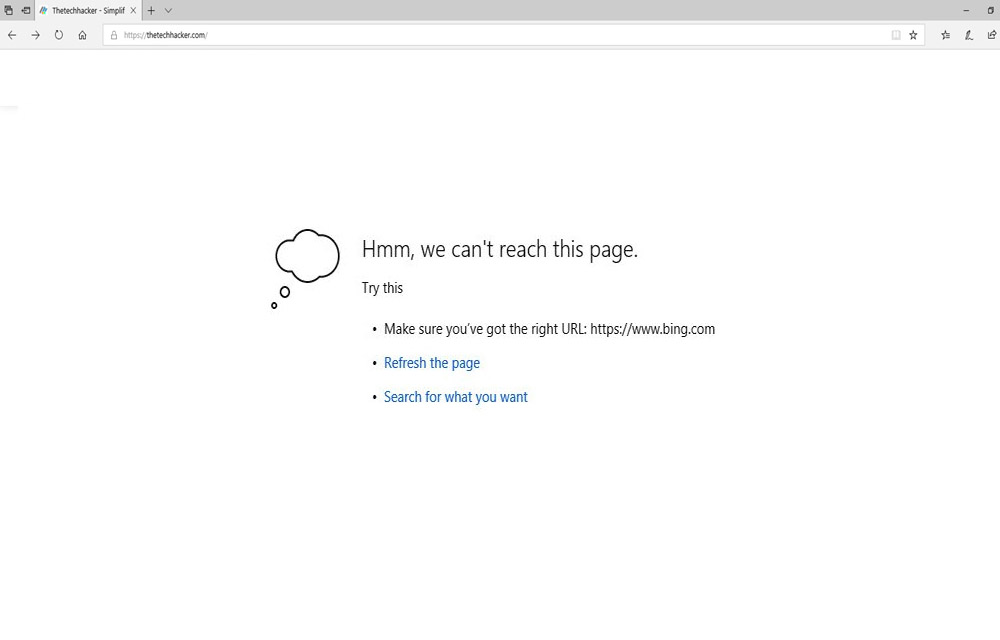
How to fix the “We can’t reach this page” error on Microsoft Edge
There are Windows users out there who have been using Microsoft Edge browser. If you are unaware, Microsoft Edge is a refreshed version of the Internet Explorer by Microsoft. The Internet Explorer is a standalone browser developed by Microsoft and bundled along with Windows 10.
For users who have privacy concerns, Google Chrome is not the browser of choice. Also, Google Chrome is known to eat plenty of memory so people choose to avoid it. There has been an error faced by many users on Microsoft Edge browser saying Hmm, we can’t reach this page. There is an easy fix to this error and we are here to tell the solution to this problem.
How to fix “Hmm, we can’t reach this page” error on Microsoft Edge
1 – Clear Cache
- You should try clearing cache on your Edge browser to solve this error. For this, open Edge and go to History > Clear History.
- Also, checkmark on Clear Cached data and files option as well. Click on clear and restart Microsoft Edge to see if the error is solved.
- If the error is not solved, you should try the other solutions mentioned below.
2 – Enable IPV6
- For this, press Win+R and type ncpa.cpl. Click enter and a new window will be opened.
- Inside this window, right-click on your current network and go to its properties.
- Now, tick the Internet Protocol version 6 box.
- Click on Ok and restart the system. Now, try connecting to any website on Edge browser and see if the problem is fixed. If not, continue to try the next solution mentioned below
3 – DNS Client Service Check
- Enter Run command by pressing Win+R and type services.msc. In the left column, go to DNS Client option and right-click on it to select its Properties.
- Now, check its Startup type and set it to automatic, click on Start below it and then press Ok and restart your PC.
4 – Use Google’s DNS
- Repeat the procedure as mentioned in Solution 2 until step 2. Here, click on Internet Protocol Version 4 and assign a new DNS server address:
- This DNS server we will assign is the Google DNS. In the preferred DNS address, type: 8.8.8.8 and in alternate DNS address, type: 8.8.4.4.
- Apply the changes, click on Ok and restart the system so that the error will get solved if the above solutions did not work.
More in Windows
How to Fix Error 0x80244018 when installing apps from Windows Store in Windows 10
We have already discussed an error when you fail to launch the Microsoft Store. But, there’s another type of error – which is specified with an error code which you will see it as “Error 0x80244018” when installing apps from Windows Store in Windows 10. Similar to what the solution was for launching the Microsoft…
How to Fix Windows 11 Widgets Not Working
Windows 11’s Widgets panel gives quick glances at weather, news, stocks, and more right from your taskbar. But if clicking the icon does nothing, shows a blank screen, or fails to load, it’s a common technical glitch. Often tied to missing components like Edge WebView2 or the Windows Web Experience Pack, these fixes get most…
How to Add Website Links to Windows 10 Start Menu
Thanks to the Microsoft for bringing back the Charming start menu in Windows 10. Alongside numerous existing features, Windows 10 start menu comes with a lot of new addition. Such a noticeable addition is that the users can now pin their favorite websites to the start menu to quickly access them. This feature will be…
The week in tech, minus the noise.
New reviews, fixes and the stories that matter — once a week, straight to your inbox.
We only use your email to send the newsletter. Unsubscribe any time. See our privacy policy.
Comments