

How to flush or clear DNS Cache in macOS Catalina
Are you facing trouble while opening a website in macOS Catalina? DNS or Domain Name System resolves website names from IP addresses. If your browser is unable to load the website then the most obvious problem is the DNS error. If you are facing this problem in macOS Catalina, then we have the solution for…


How to flush or clear DNS Cache in macOS Catalina
Are you facing trouble while opening a website in macOS Catalina? DNS or Domain Name System resolves website names from IP addresses. If your browser is unable to load the website then the most obvious problem is the DNS error.
If you are facing this problem in macOS Catalina, then we have the solution for you. Reset and flush DNS cache will solve this error and it loads the websites properly. Also, clearing the cache will speed the website loading speeds faster in all OS’s including macOS Catalina.
How to Flush or Clear DNS Cache in macOS Catalina
There are several steps involved in flush DNS Cache in macOS Catalina which are very easy to follow. All you need to open Terminal on your mac to run a few commands.
1. macOS Catalina
- Open Terminal (Application – > Utilities – > Terminal or click Go- > Utilities- > Terminal).
- Now type the below command in Terminal and hit the enter button.
sudo killall -HUP mDNSResponder - If you are using a password for authorization, then you need to enter the macOS password to execute the command.
- After, close the command.
For the older macOS versions, follow the below steps.
2. macOS Mojave
- Open Terminal (Application – > Utilities – > Terminal or click Go- > Utilities- > Terminal).
- Now type the below command in Terminal and hit the enter button.
sudo killall -HUP mDNSResponder - If you are using a password for authorization, then you need to enter the macOS password to execute the command.
- After, close the command.
3. macOS High Sierra
- Open Terminal (Application – > Utilities – > Terminal or click Go- > Utilities- > Terminal).
- Now type the below command in Terminal and hit the enter button.
sudo killall -HUP mDNSResponder - If you are using a password for authorization, then you need to enter the macOS password to execute the command.
- After, close the command.
4. macOS Sierra
- Open Terminal (Application – > Utilities – > Terminal or click Go- > Utilities- > Terminal).
- Now type the below command in Terminal and hit the enter button.
sudo killall -HUP mDNSResponder - If you are using a password for authorization, then you need to enter the macOS password to execute the command.
- After, close the command.
5. macOS El Capitan
- Open Terminal (Application – > Utilities – > Terminal or click Go- > Utilities- > Terminal).
- Now type the below command in Terminal and hit the enter button.
sudo killall -HUP mDNSResponder - If you are using a password for authorization, then you need to enter the macOS password to execute the command.
- After, close the command.
6. macOS Yosemite
- Open Terminal (Application – > Utilities – > Terminal or click Go- > Utilities- > Terminal).
- Now type the below command in Terminal and hit the enter button.
sudo discoveryutil udnsflushcaches - If you are using a password for authorization, then you need to enter the macOS password to execute the command.
- After, close the command.
7. macOS Mavericks
- Open Terminal (Application – > Utilities – > Terminal or click Go- > Utilities- > Terminal).
- Now type the below command in Terminal and hit the enter button.
sudo killall -HUP mDNSResponder - If you are using a password for authorization, then you need to enter the macOS password to execute the command.
- After, close the command.
8. macOS Mountain Lion
- Open Terminal (Application – > Utilities – > Terminal or click Go- > Utilities- > Terminal).
- Now type the below command in Terminal and hit the enter button.
sudo killall -HUP mDNSResponder - If you are using a password for authorization, then you need to enter the macOS password to execute the command.
- After, close the command.
9. macOS Lion
- Open Terminal (Application – > Utilities – > Terminal or click Go- > Utilities- > Terminal).
- Now type the below command in Terminal and hit the enter button.
sudo killall -HUP mDNSResponder - If you are using a password for authorization, then you need to enter the macOS password to execute the command.
- After, close the command.
10. macOS Snow Leopard and older versions
- Open Terminal (Application – > Utilities – > Terminal or click Go- > Utilities- > Terminal).
- Now type the below command in Terminal and hit the enter button.
sudo lookupd -flushcache - If you are using a password for authorization, then you need to enter the macOS password to execute the command.
- After, close the command.
That’s it. Once you follow the above steps you will clear DNS cache in Mac. Now restart your browser and enjoy the error-free browsing experience.
More in How-to
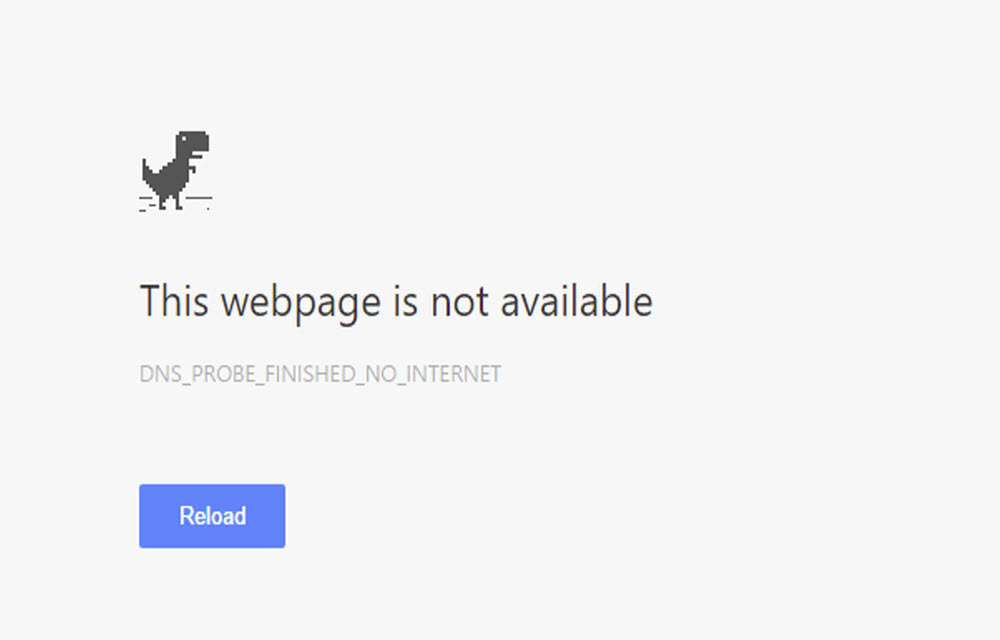
How to Fix DNS Error- DNS_Probe_Finished_no_Internet in your PC
We have all known that Windows is the preferred Operating System around the World when it comes to OS of choice. Now, some of you may argue that MacOS is better than Windows. However, we will reserve that debate for some other day. If you are an avid Windows user, you might have known that there…

How To Flush DNS In Windows?
You work with your computer every day for performing a wide range of work. It includes browsing Internet, emails, video streaming and much more. Each time you access a particular website, the relevant DNS resolutions are fetched from the web and stored on the computer. The DNS resolutions are stored in the cache on your…

Why Is a Website Blocked in My Region? Legit Ways to Access It
You type in a website address and instead of the page, you see a message like “This content is not available in your country” or the page just won’t load. It is frustrating, but there is usually a clear reason behind it, and often a legitimate fix. In this guide, we explain the most common…
The week in tech, minus the noise.
New reviews, fixes and the stories that matter — once a week, straight to your inbox.
We only use your email to send the newsletter. Unsubscribe any time. See our privacy policy.
Comments